The Project Workspace
Where you build everything
The project workspace is where you build everything. It’s the screen you land on when you open a project, and it stays the same shape whether your project has three files or three thousand. This guide walks through every region of the workspace so you can find what you need and not feel lost.
The top bar
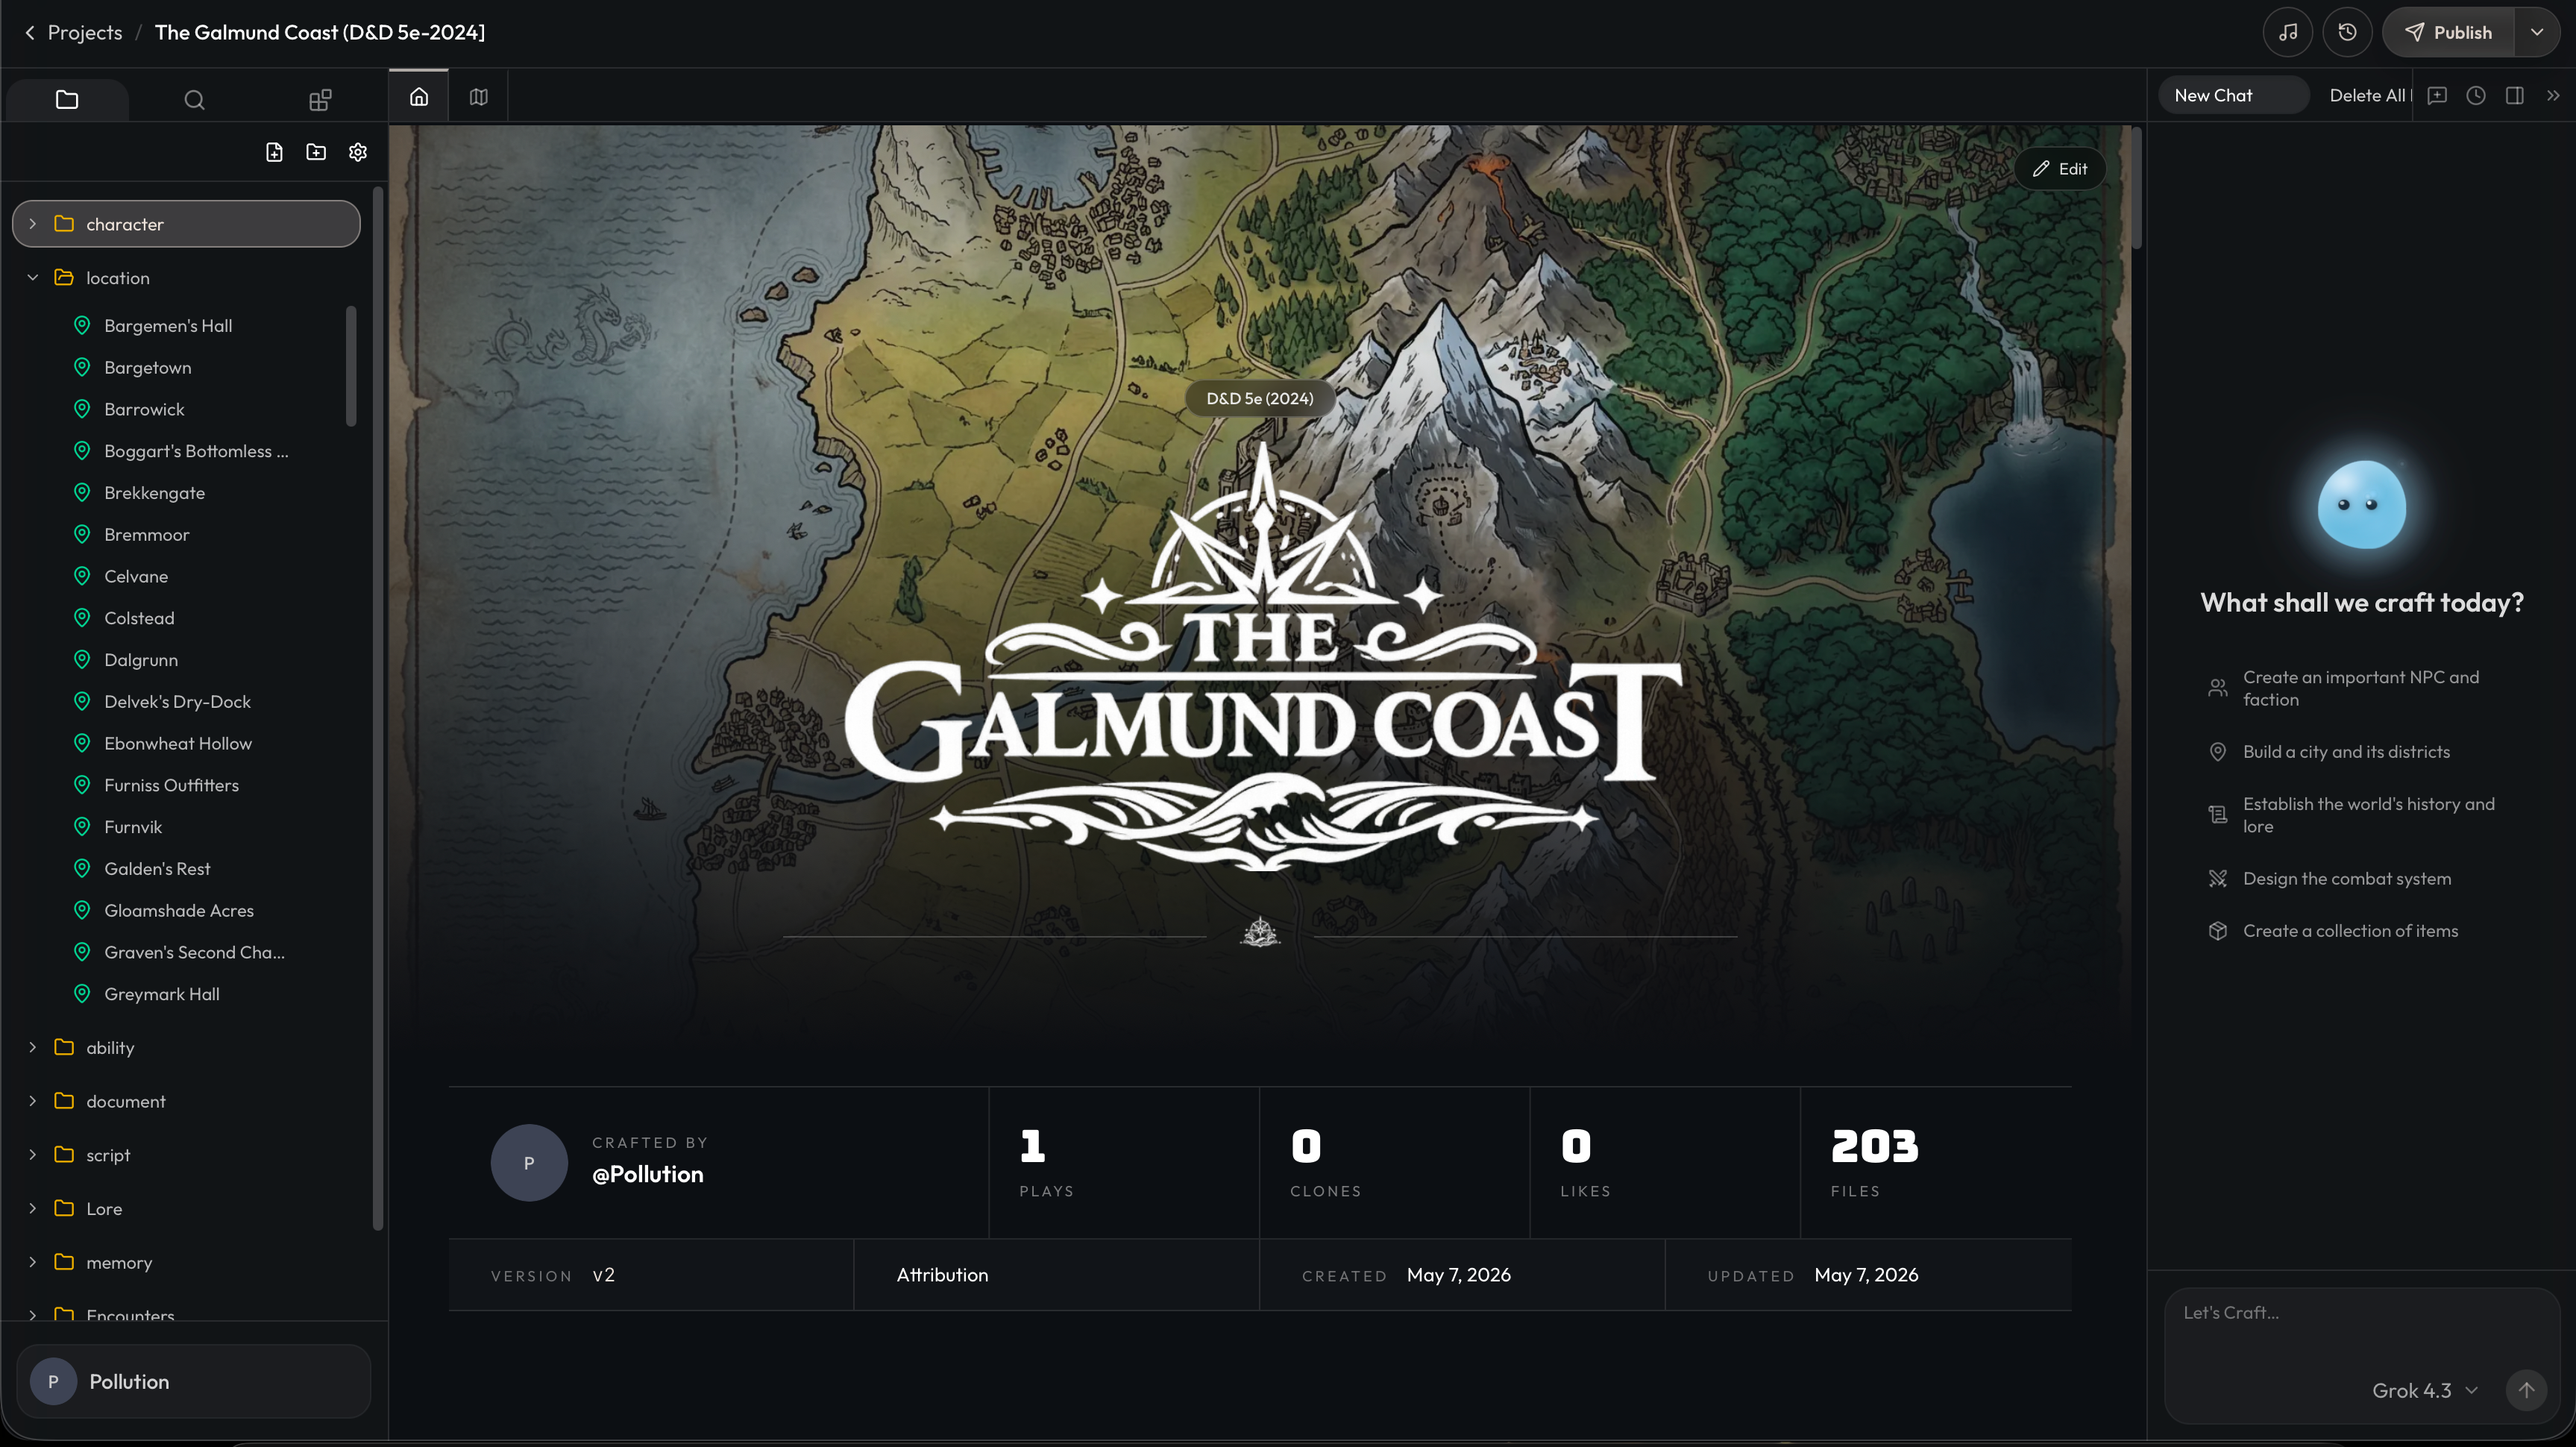
The bar across the top of the workspace stays put no matter where you are inside the project.
-
Projects breadcrumb – At the far left. Click Projects to jump back to your project list, or click the project name to return to the project home.
-
Music – Plays the currently attached track if any music is hooked up. Useful when you want to set the mood while you write.
-
Create Version – Saves a versioned snapshot of the project, and publishes it if your project is public. The chevron next to it opens a menu with Start Game, Share Project, Clone Project, and Version History. See Publishing and Releases for how versions work.
Three views in the narrow sidebar
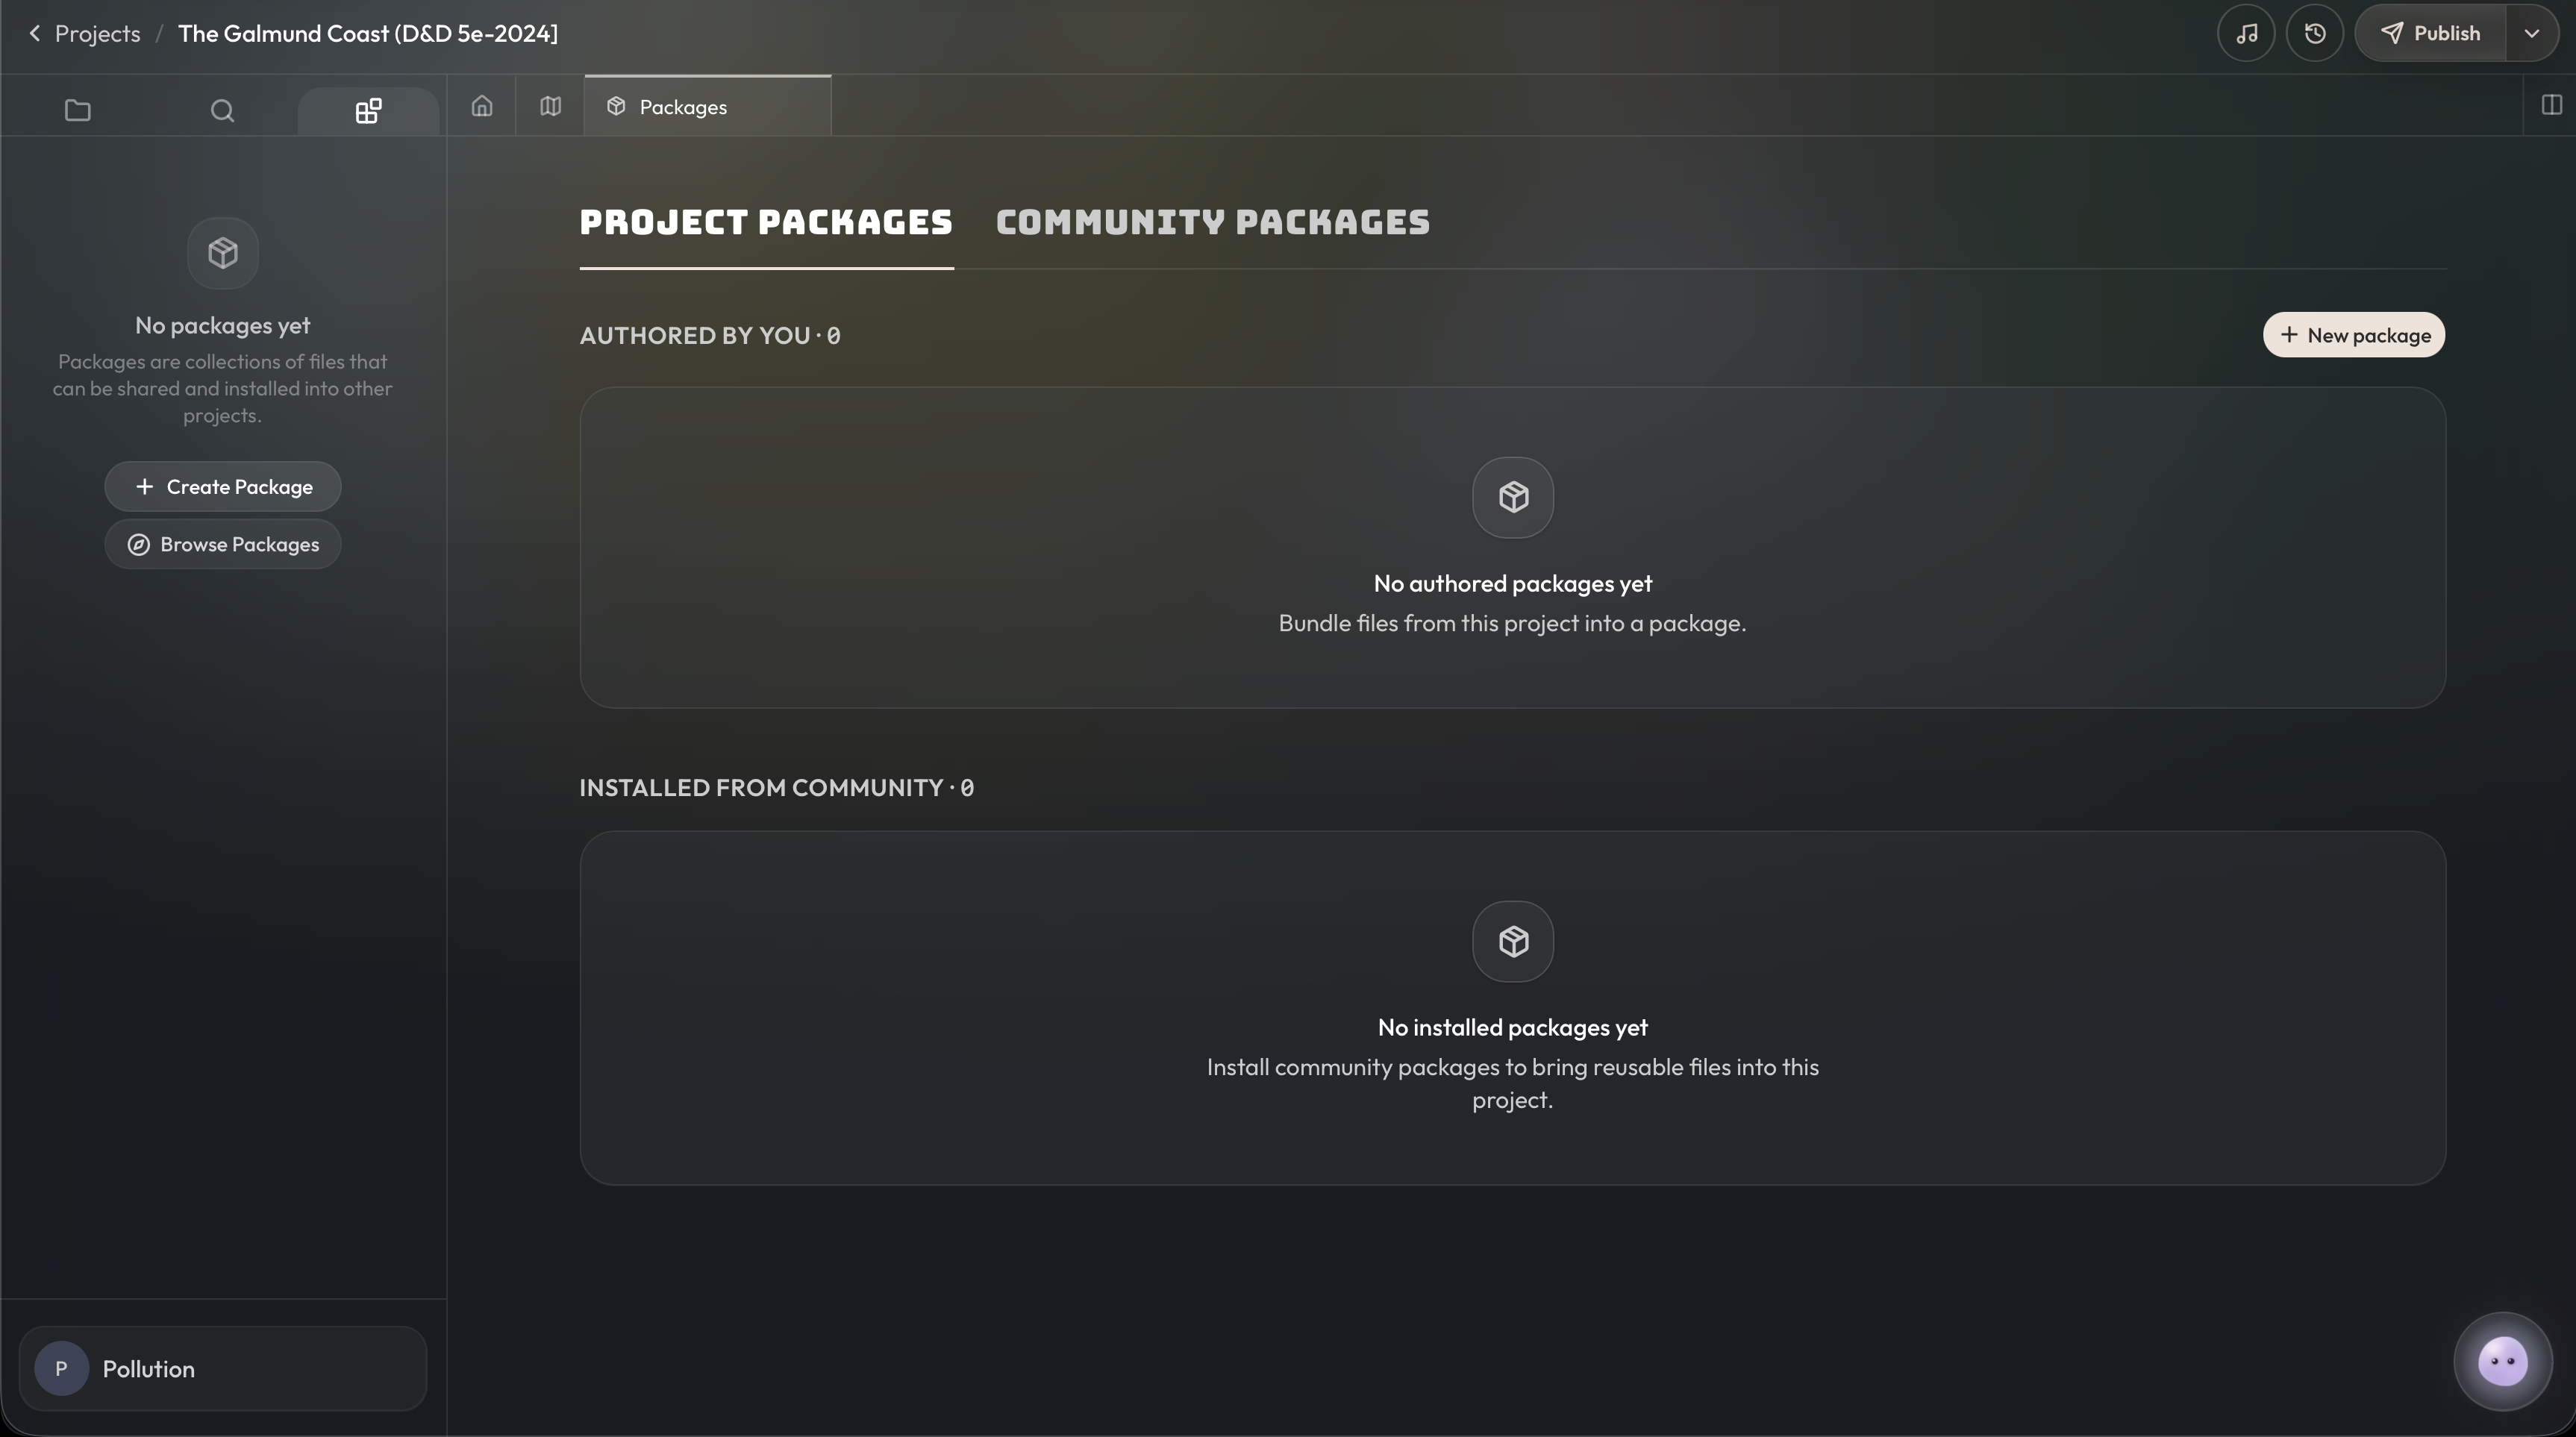
The thin column of icons on the left edge of the workspace switches what shows up in the wider sidebar next to it. There are three modes.
-
Files – The default. Shows the folder tree for this project. This is where you’ll spend most of your time.
-
Search – Replaces the tree with a single input that searches across every file in this project. Useful when you know a name but not where it lives.
-
Packages – Shows packages authored by you, packages installed from the community, and a search for browsing more packages to install. This is also where you create new packages out of pieces of your project. See Packages.
Folders, files, and file types
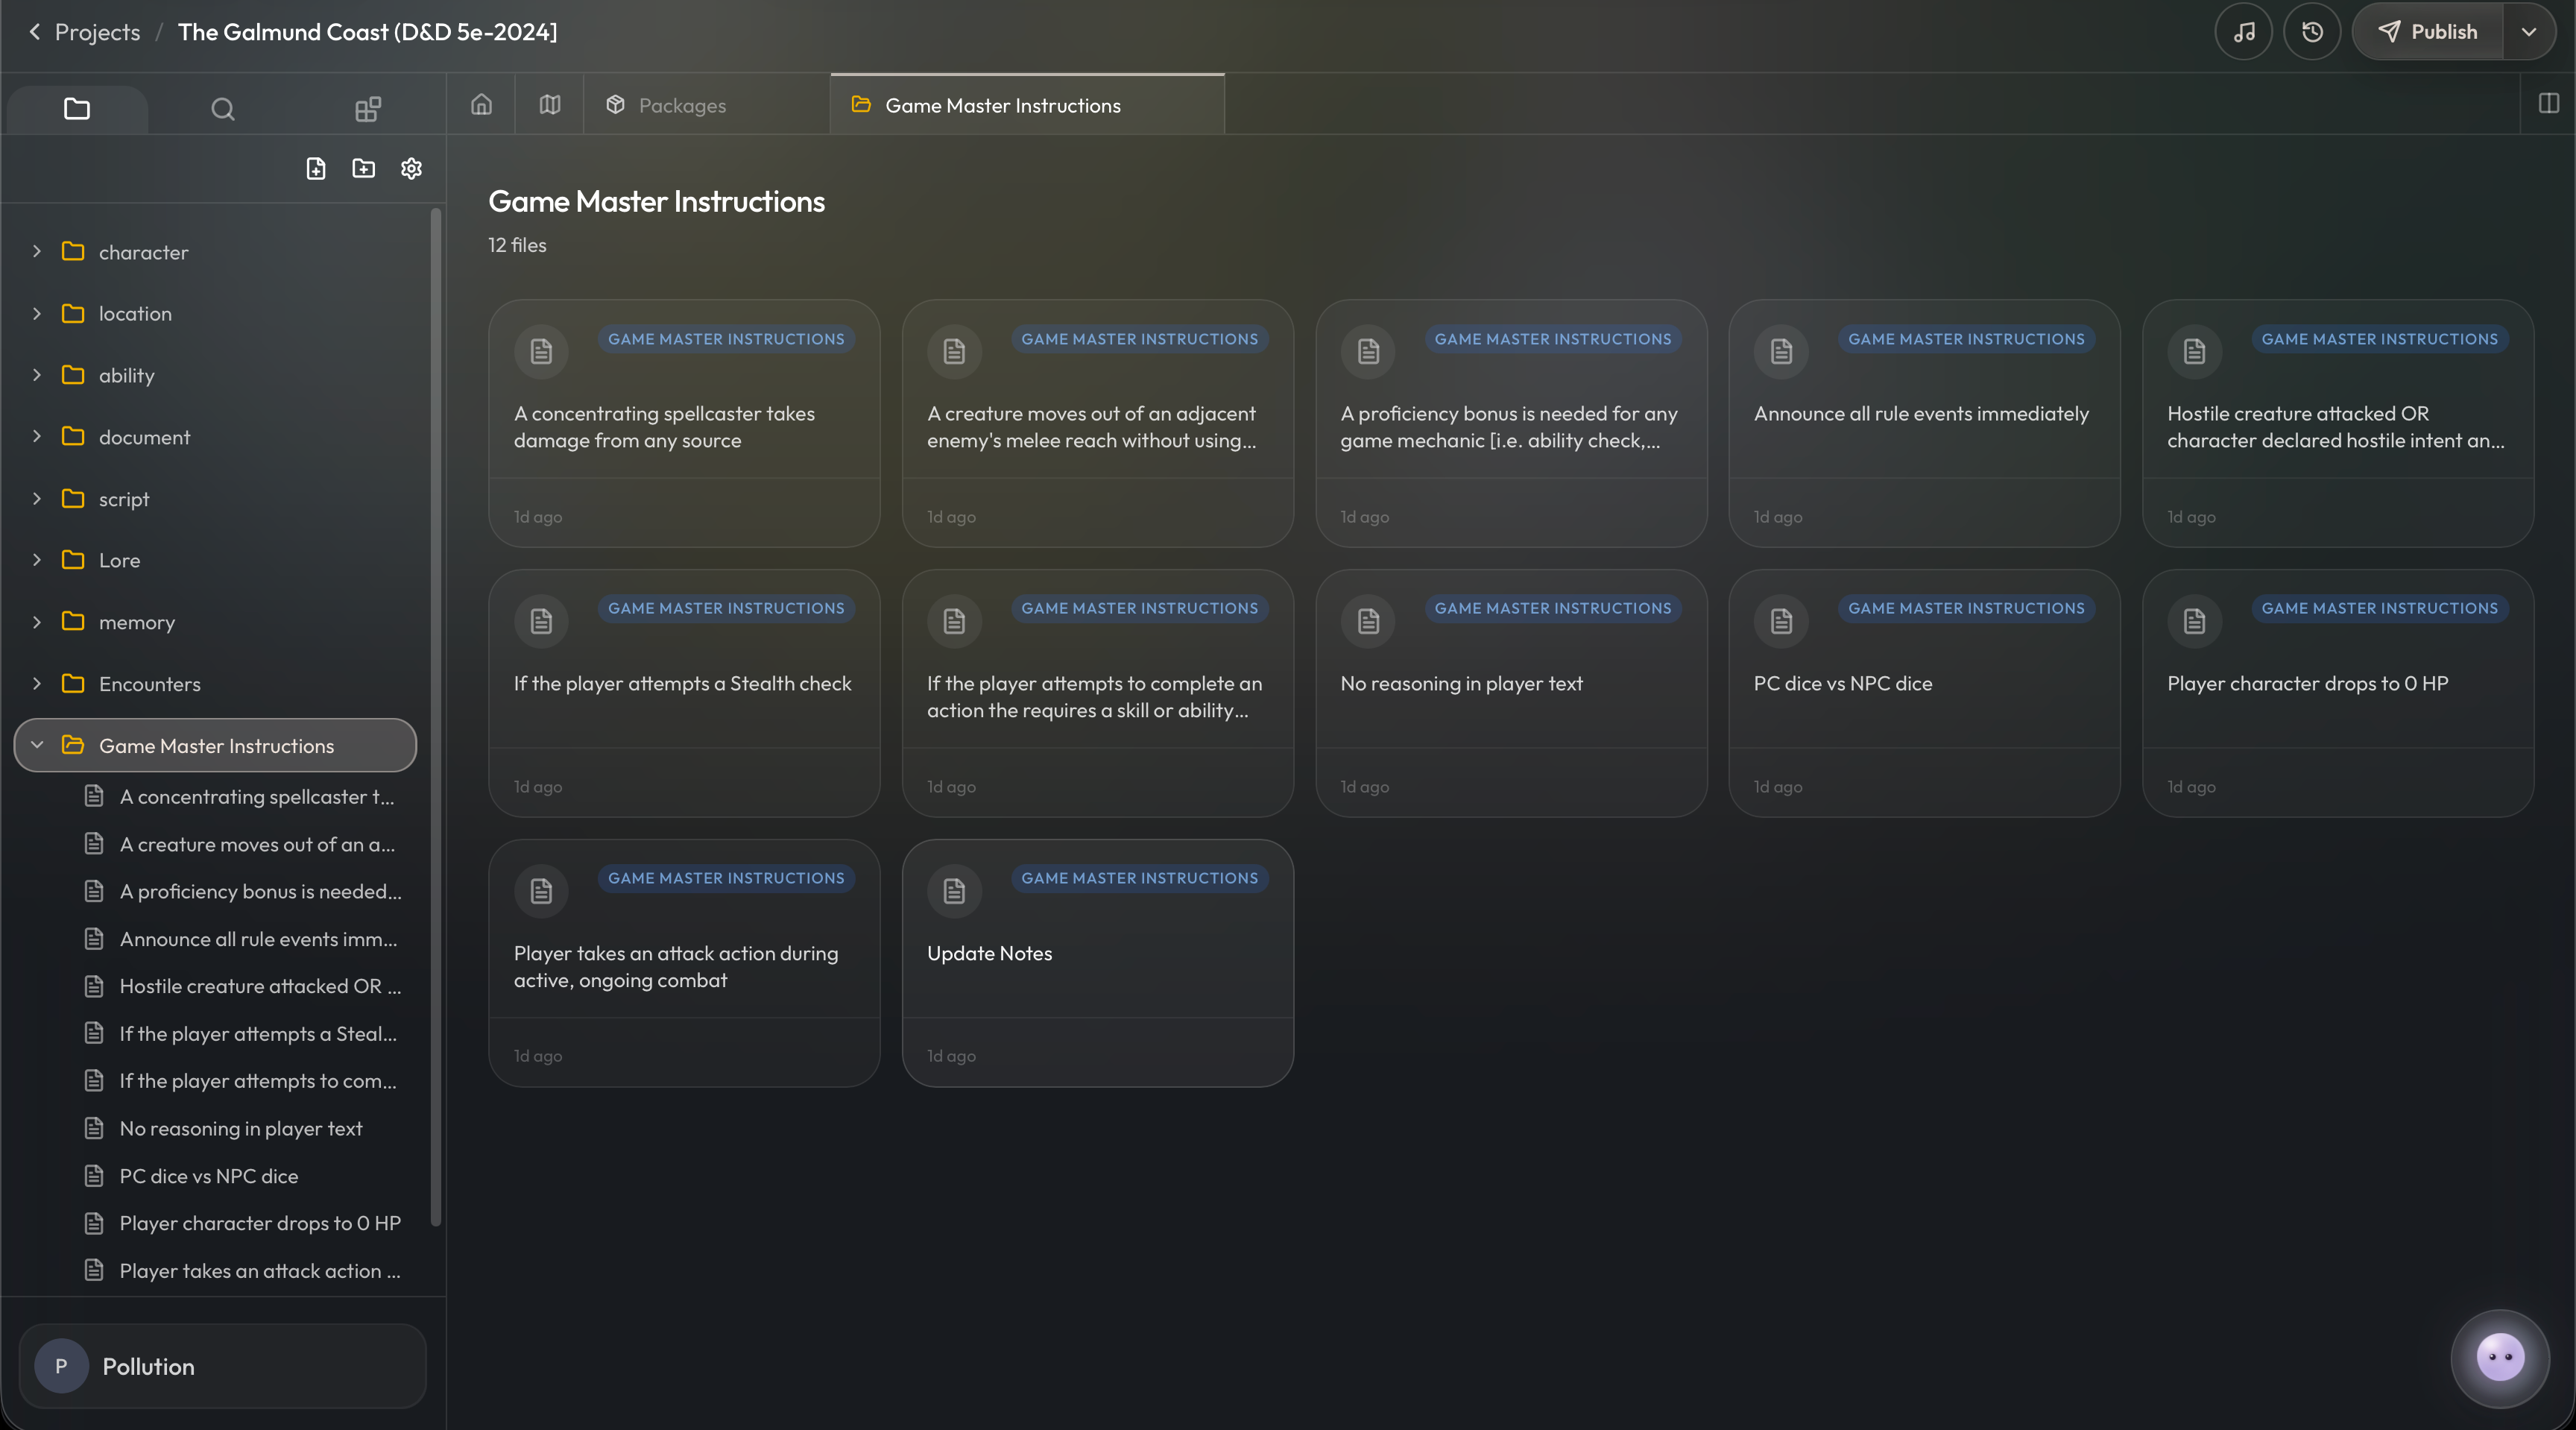
Inside Files mode, the sidebar shows your folder tree. Folders are free-form — any file type can live in any folder, and you can create as many folders as you want. Click a folder to expand it, and click a file inside to open it in the main canvas.
The icons above the tree let you act on the project as a whole: New File, New Folder, and the gear that opens Project Settings. Right-clicking a folder gives you the same actions plus rename and delete and right-clicking a file gives you rename and delete.
Each file follows a file type (a schema that defines its fields and a layout that defines how it renders). Characters, locations, items, lore documents, and GM instructions are all just files of different types. You can use the file types that come with the system you built on, or define your own in Project Settings → File Types.
Working with files in the main canvas
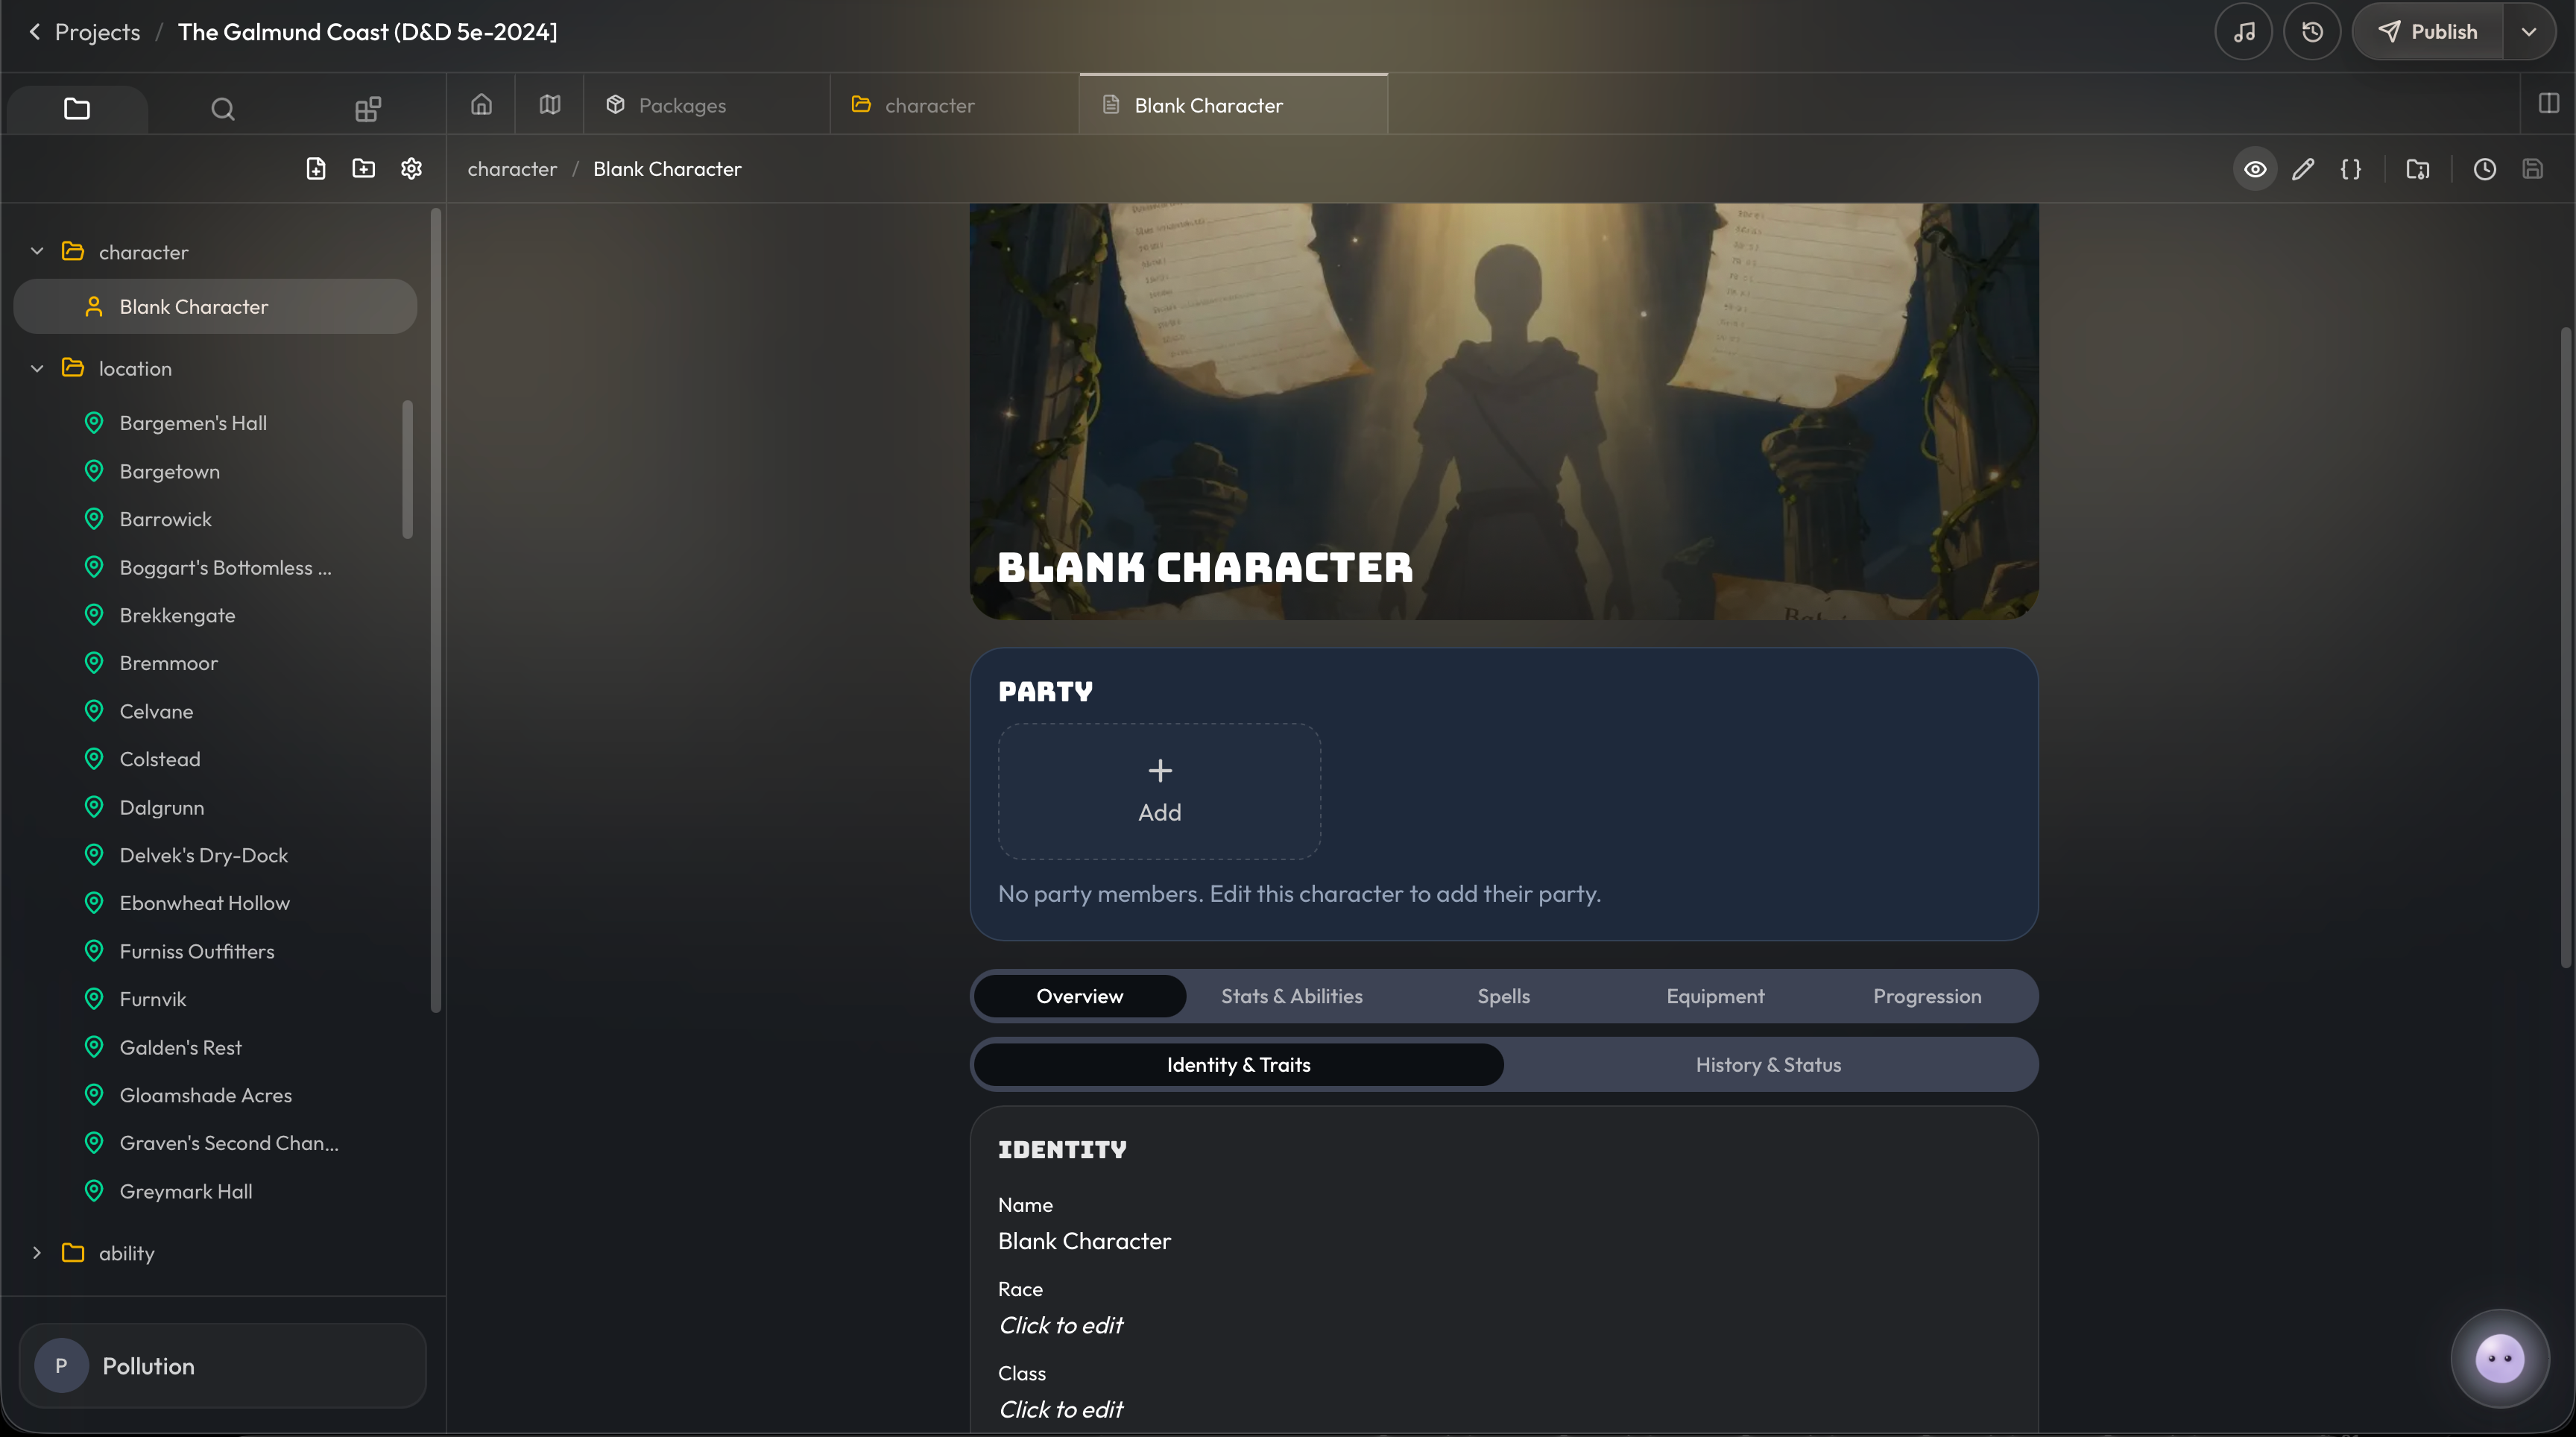
When you click a file in the tree, it opens as a tab across the top of the main canvas. You can have several files open at once and click between them, or close any tab with the X. Two icon-only tabs always sit at the start of the row: Overview (the project home page) and Root map (your world map, if you have one).
Inside an open file, four icons in the top right control how you see and edit it.
-
Eye – The default rendered view. Shows the file’s layout (the structured panels and sections that make a character sheet feel like a character sheet). You can click any field directly to edit it.
-
Pencil – Flat form view. Shows every field defined in the schema as a single scrolling list. Useful when you want to bulk-edit or fill in a lot of fields at once.
-
{ } – Raw JSON view. Shows the file’s underlying data. Use this when you need to do something the layouts and forms don’t cover.
-
History – Past versions of this specific file, with restore options.
Talking to Orbit
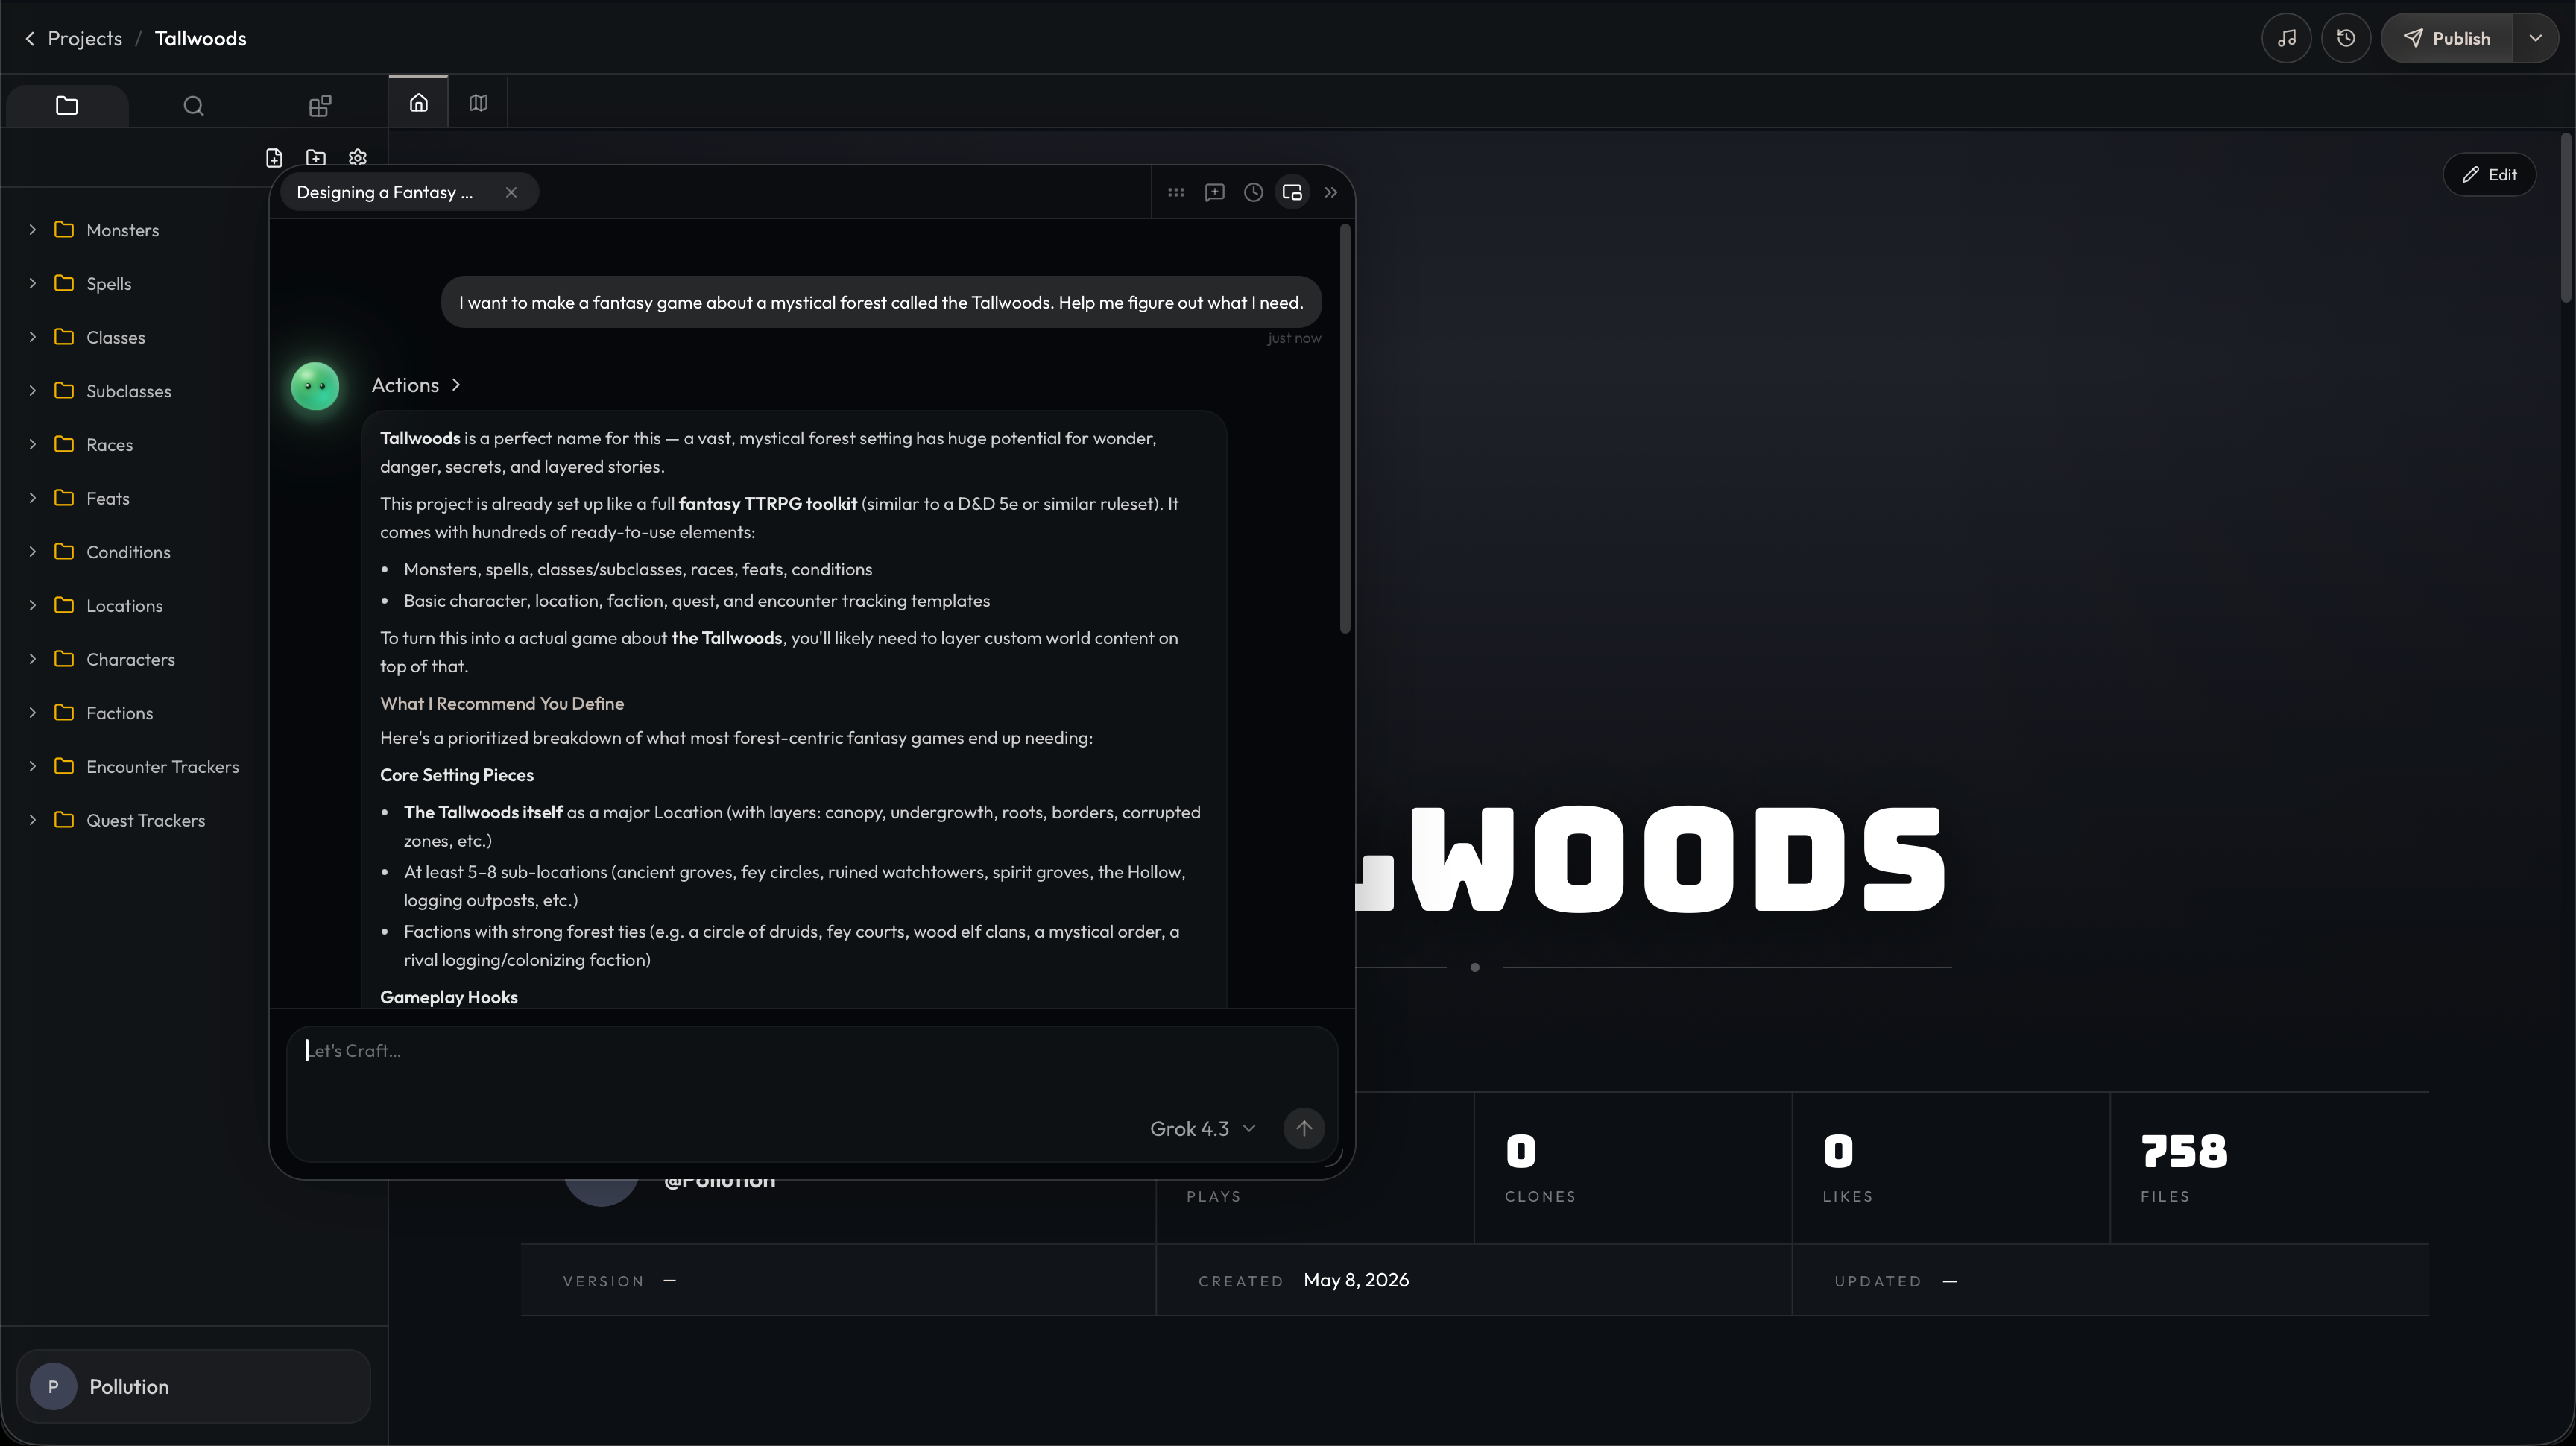
The assistant panel on the right is Orbit, your world-building partner. Orbit can read your project, propose changes, generate files, and update file types as you build. The panel toggle lives at the top right of the workspace and once it’s open, you’ll see chat history, a model picker at the bottom, and starter prompts on a fresh chat.
When you start a new chat, Orbit shows a row of icons at the top of the panel for New chat, Chat history, Change assistant layout, and Close panel. Conversations are saved per project, so anything you discussed before is one click away in chat history.
Project settings
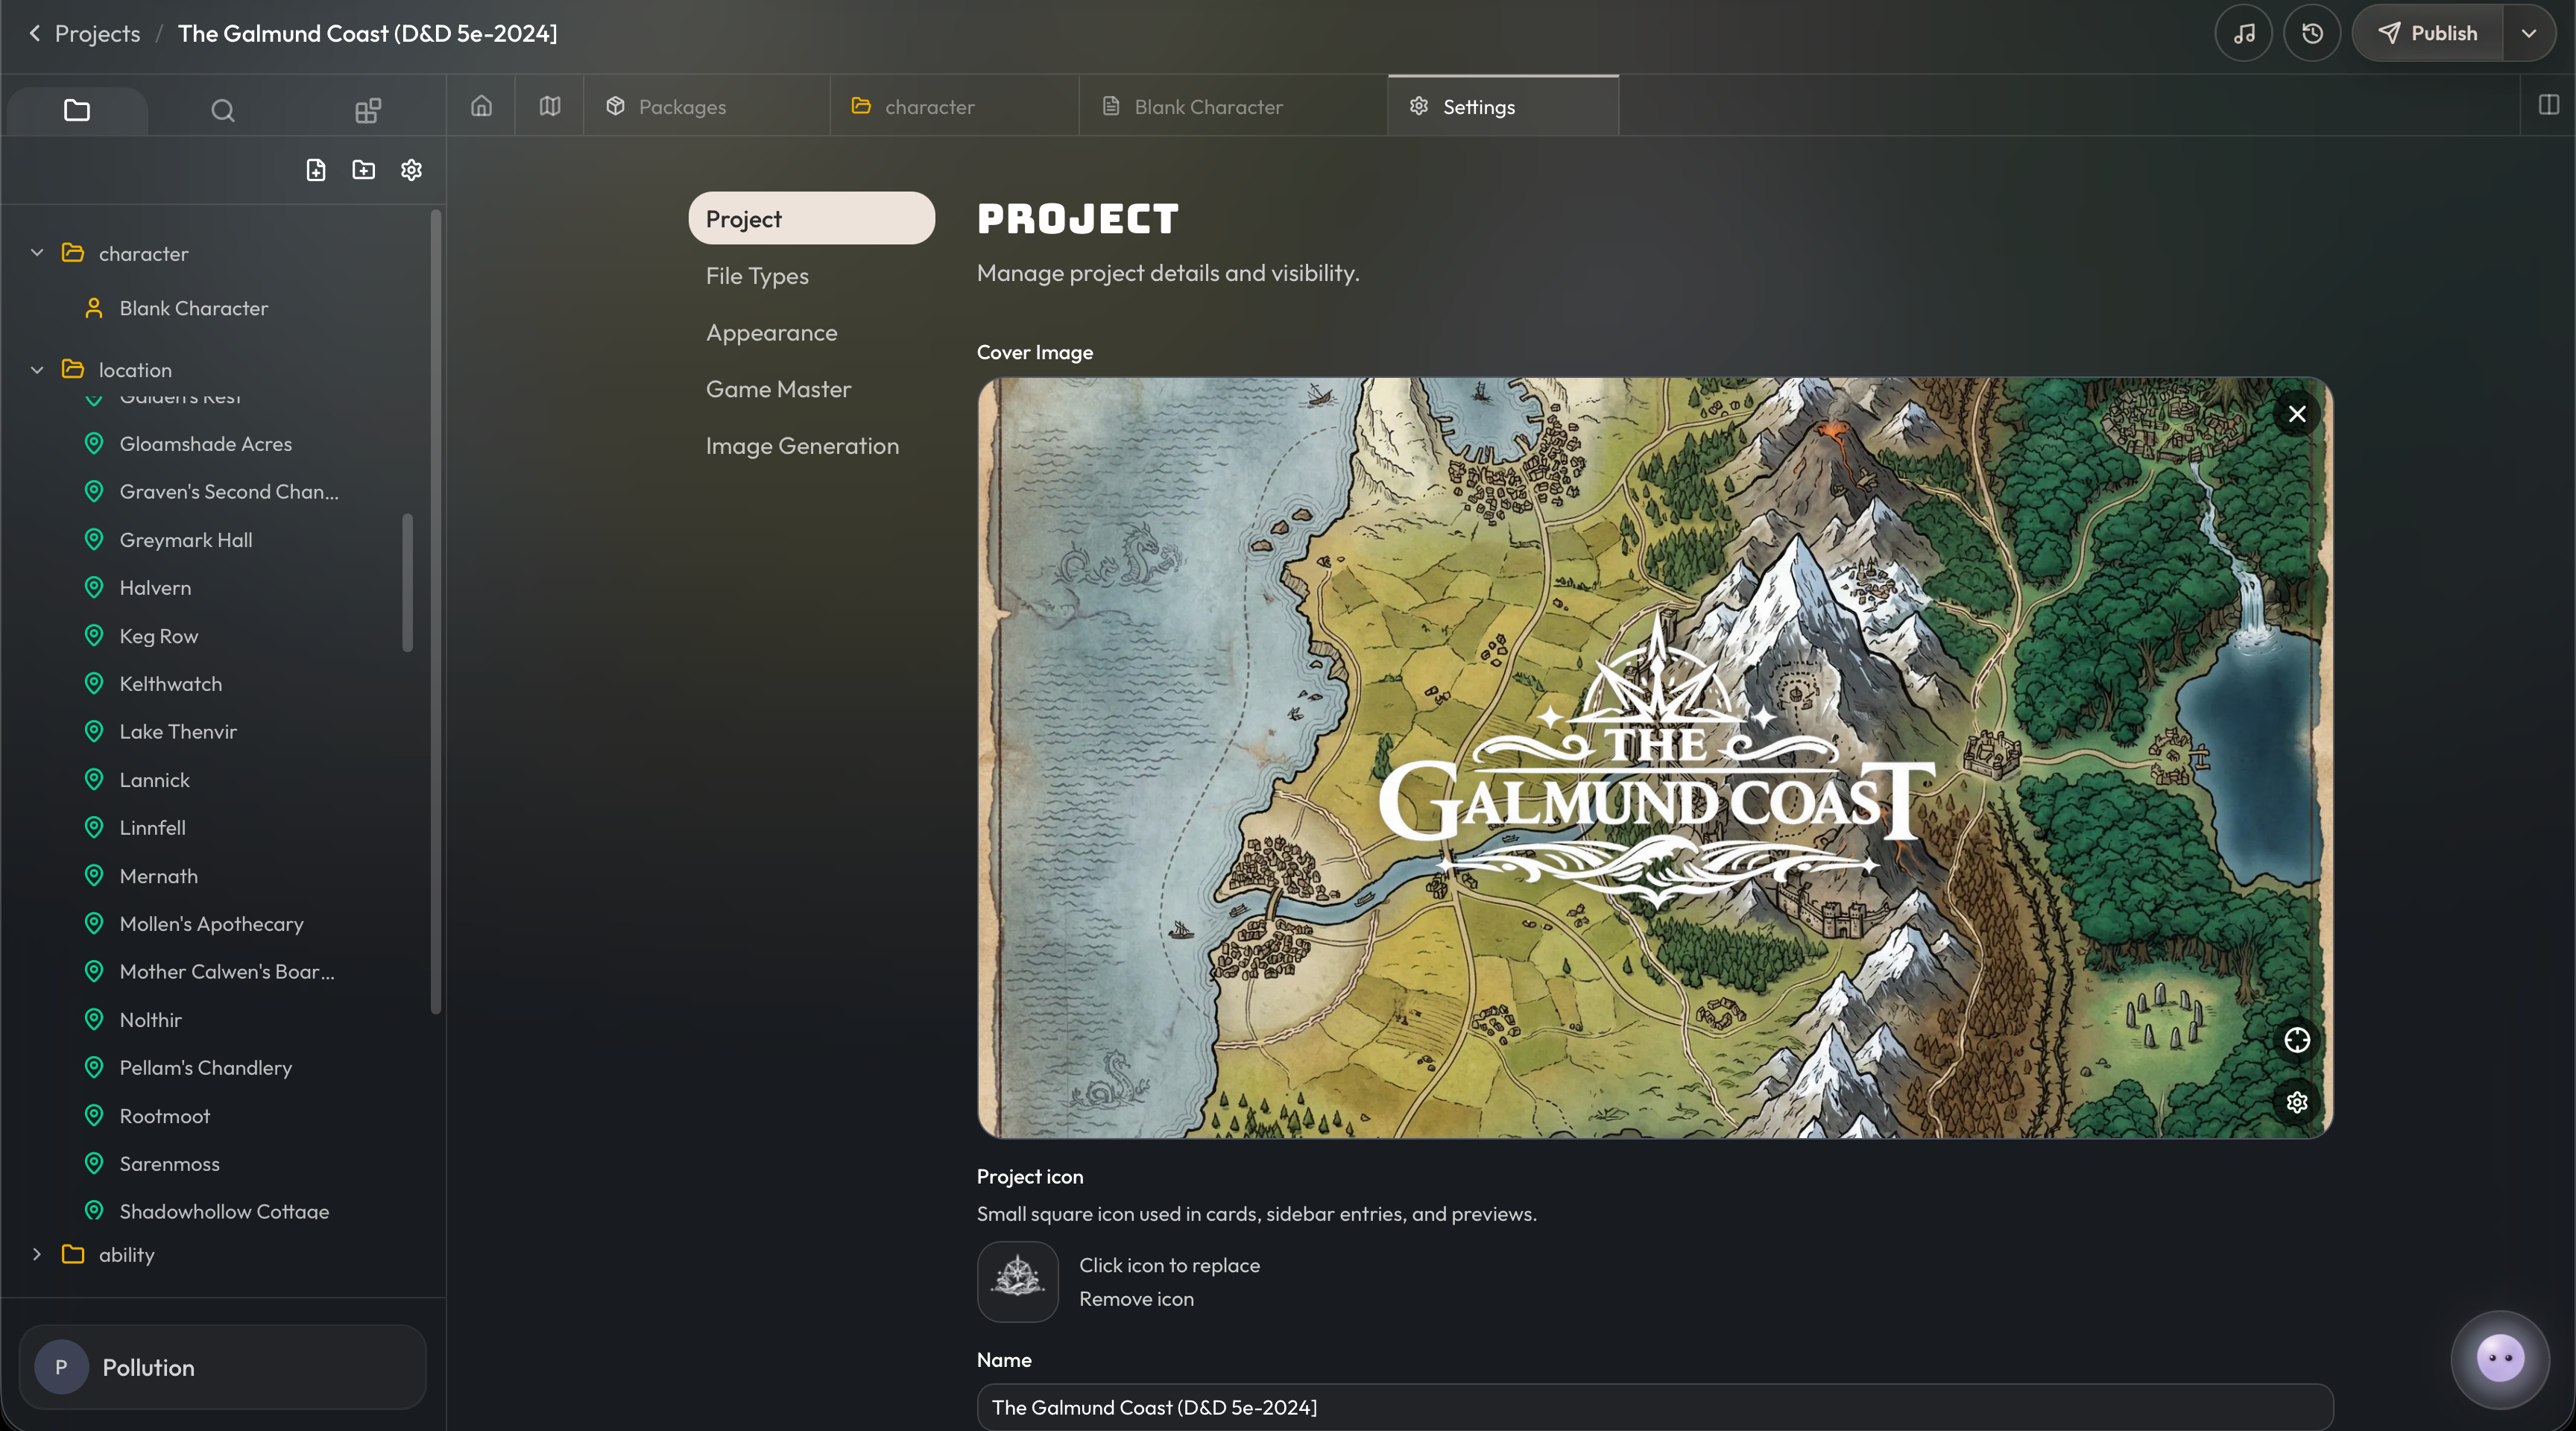
The gear icon above the file tree opens Project Settings as its own tab, with sub-tabs down the left:
-
Project – Cover image, project icon, name, description, the option to hide the hero title, the project’s type and tags, and its visibility (private or published).
-
Prelude – An optional cinematic intro that plays once when a player starts a game. See The Prelude Editor.
-
File Types – The list of every file type in this project. Edit a file type to change its schema, fields, and layout. Add new types when you need a new kind of content. See File Types.
-
Appearance – Project theme. Pick a preset or customize colors and fonts. The theme follows your project into games.
-
Game Master – The default GM identity for games started from this project. Set a portrait, a name, and pick a voice from the TTS dropdown. This is also where the GM’s tool switches live.
-
Game Sidebar – The default set of cards players see next to the chat in a game — scene, character, music, and any files you pin.
-
Visual Novel Mode – Character portraits, cutouts, and expressions used by the cinematic story view. See Character Expressions.
-
Image Generation – Whether Craft auto-generates cover images for new files, the default image model, and a Style Instructions field that gets added to every image prompt for the project so your art stays consistent.
-
CDF Import/Export – Export the whole workspace as a zip, or import one back in. See CDF Import & Export.