
Navigating Your Files
Finding things fast in your project
A working project quickly grows past the point where browsing the folder tree is enough. The file tree, search mode, tabs, popouts, and the command palette all exist so you can jump to the file you need without losing your place. This guide is the practical playbook for moving around a project once it gets big.
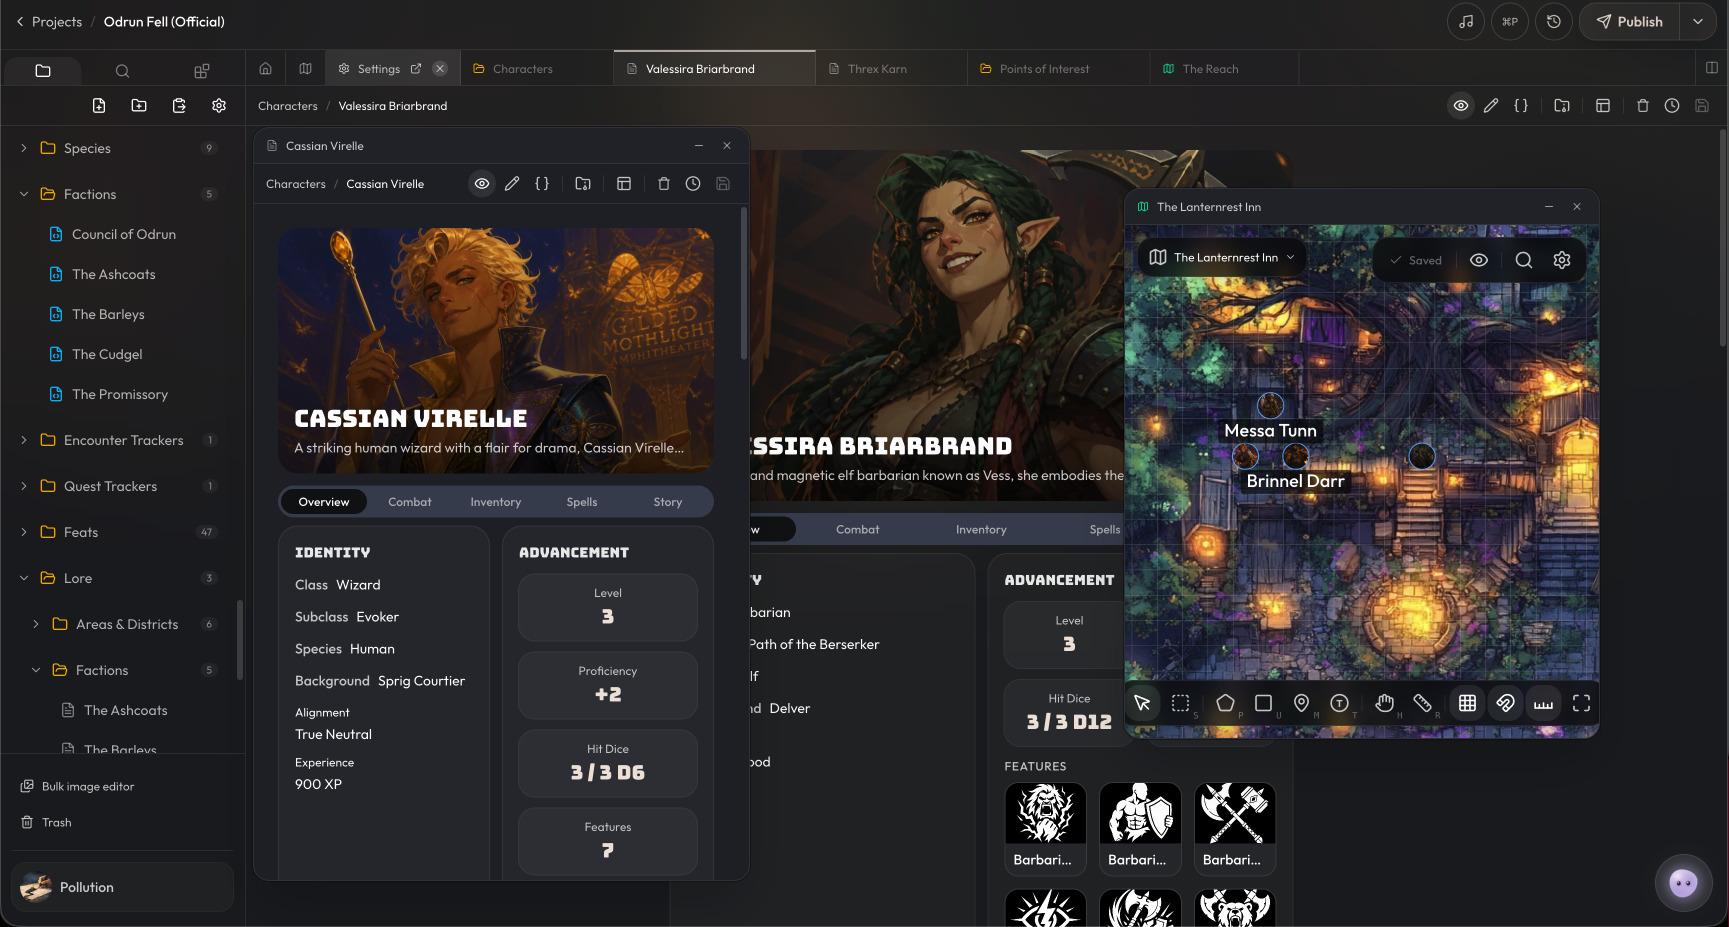
The three sidebar views
The tab strip at the top of the project sidebar switches between three views. You'll bounce between them occasionally.
Files
-
Shows the folder tree for the current project.
-
This is the default and where you'll spend the most time.
Search
-
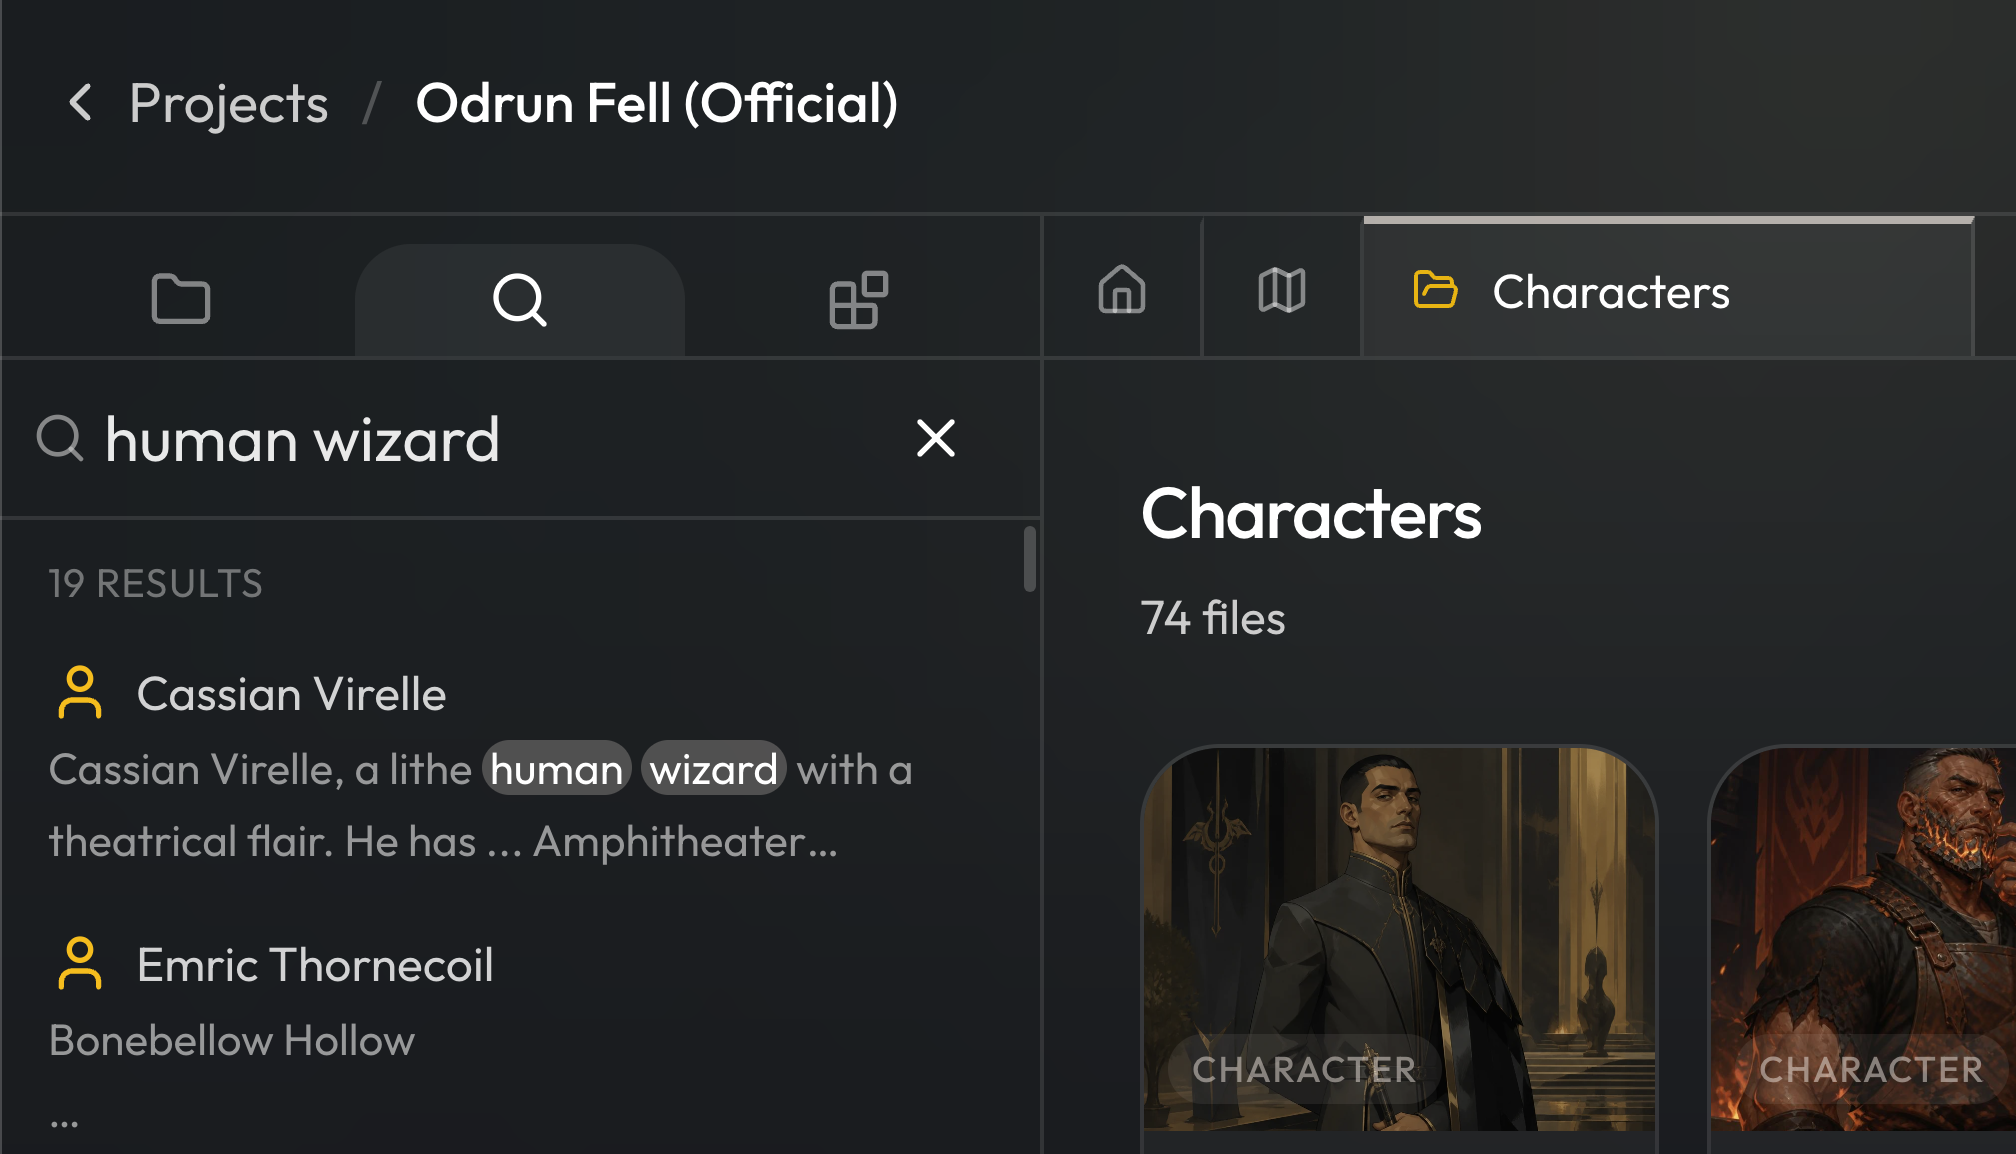
Replaces the folder tree with a single search input.
-
Type any text (file name, field value, or content) and Craft searches every file in the project.
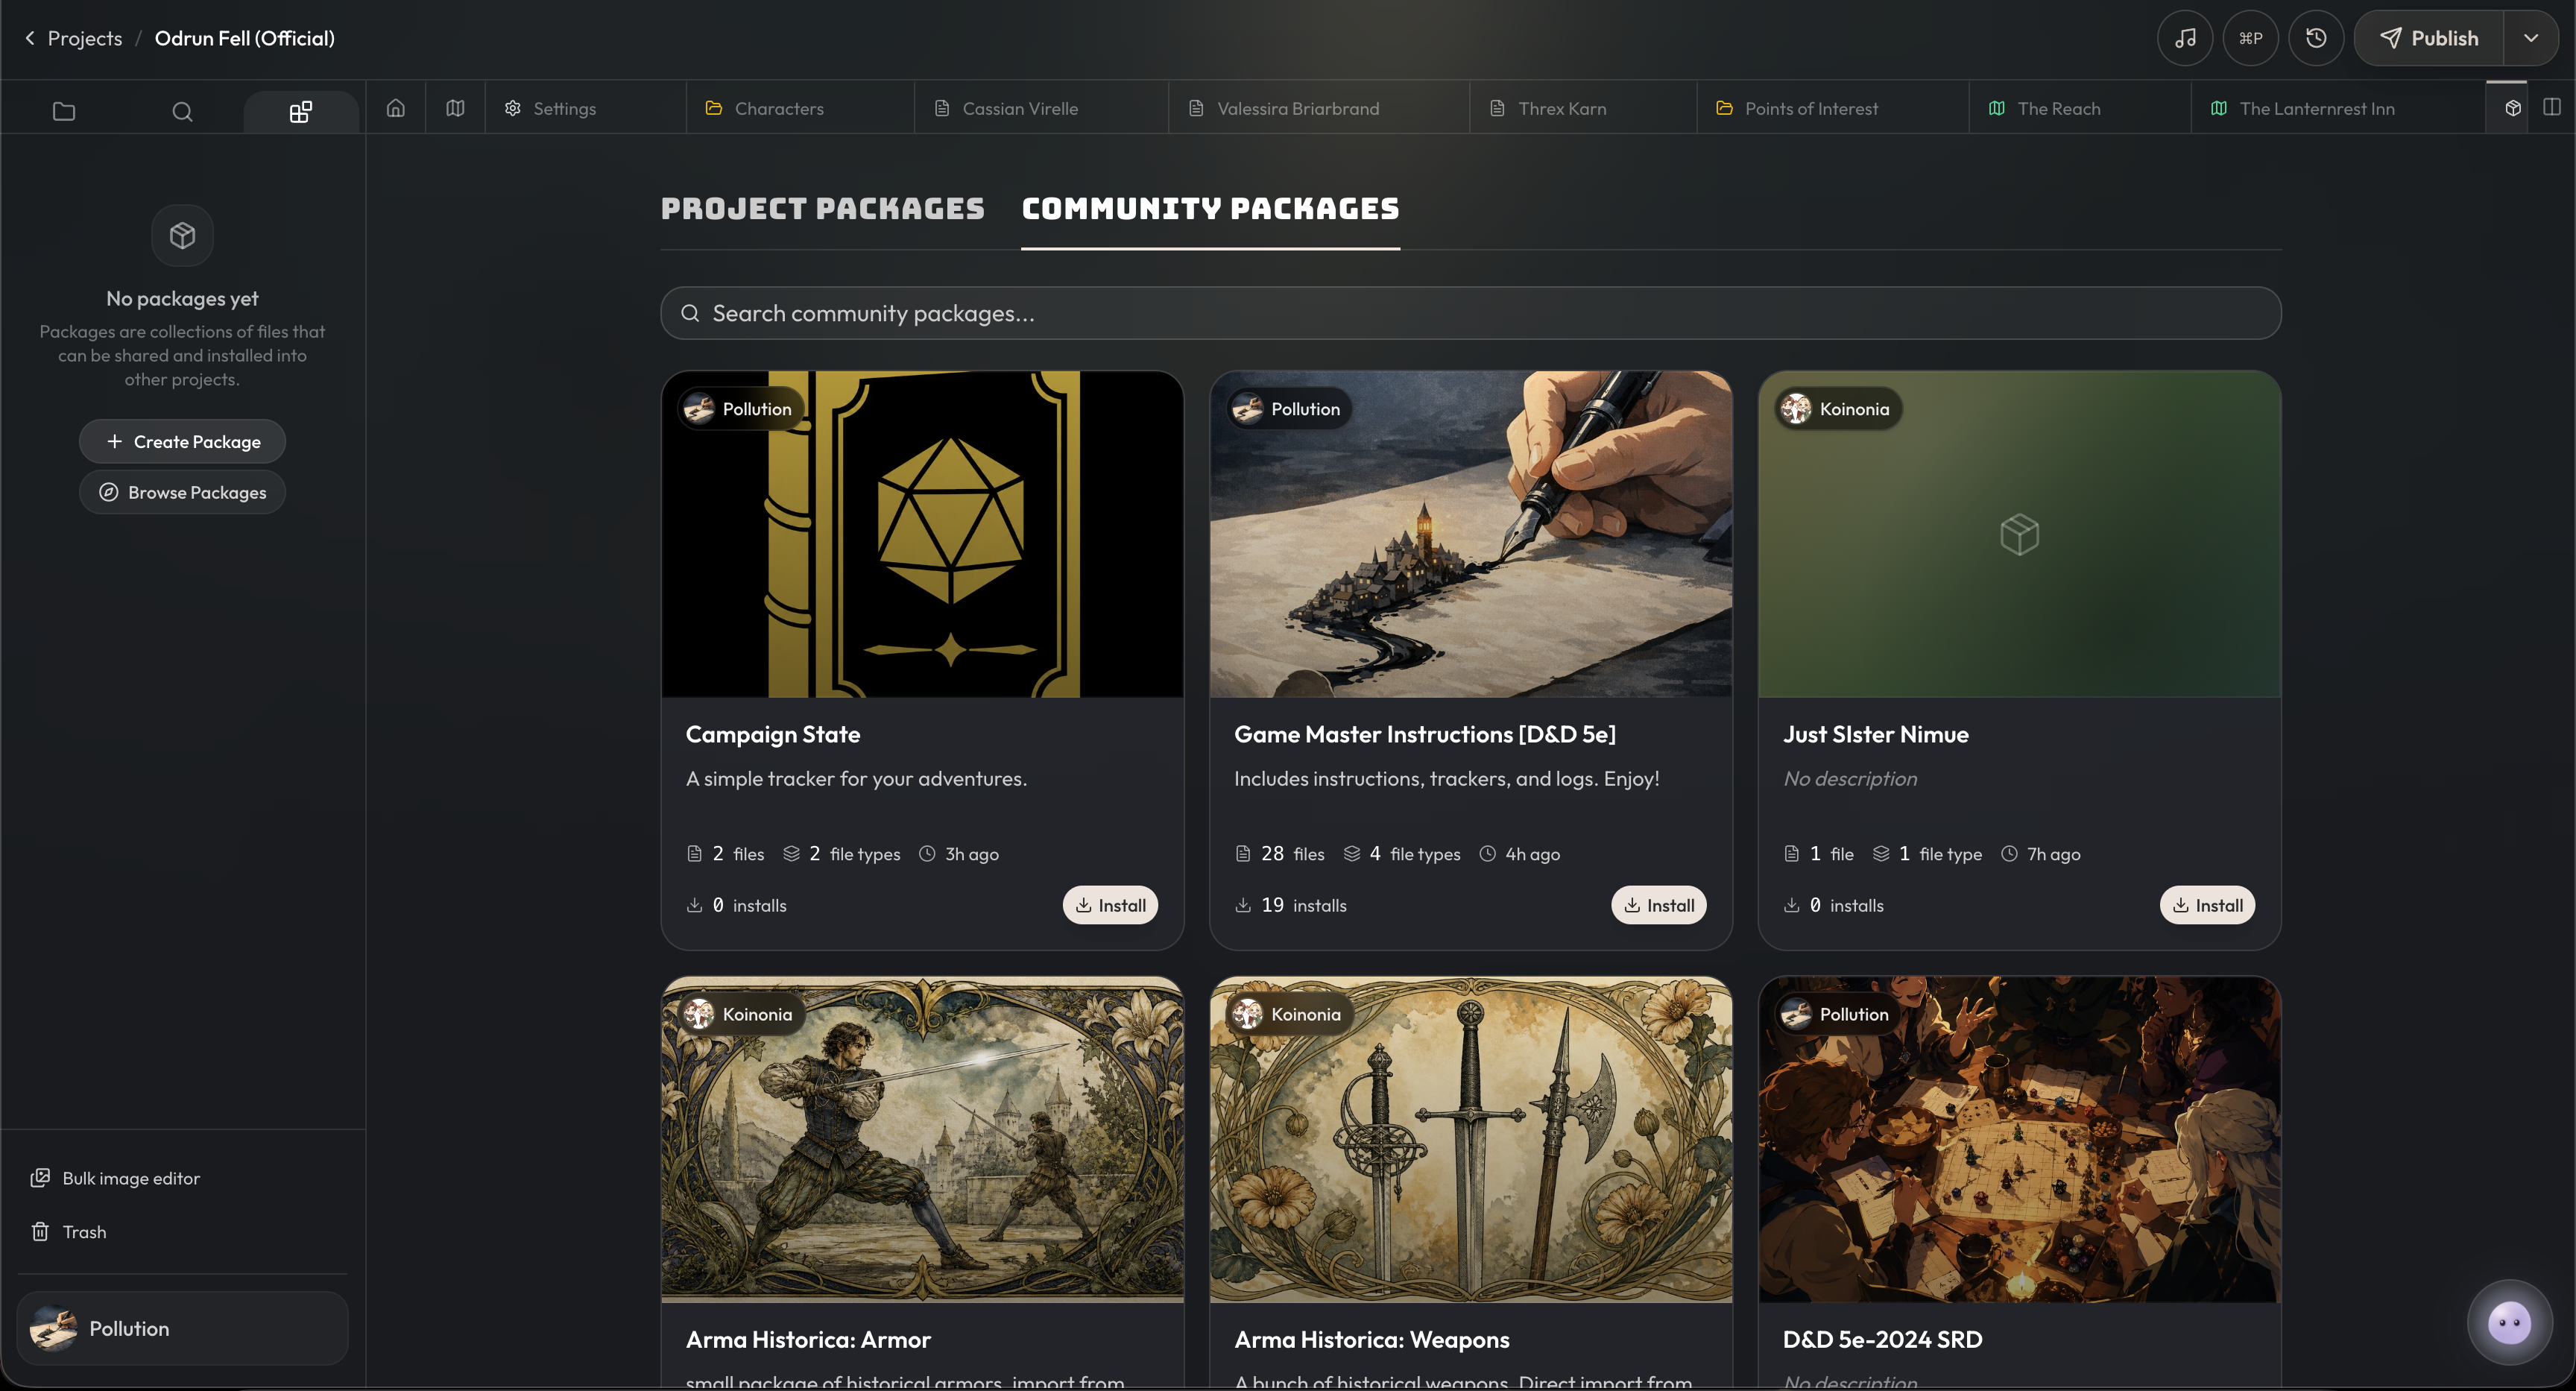
Packages
-
Shows packages you've authored, packages you've installed from the community, and a search for browsing more.
Working with folders
Folders in Craft are free-form. Any file type can live in any folder, and you decide how deep to go.
Create and rename
-
Click the New Folder icon at the top of the file tree.
-
Type a name and press Enter.
-
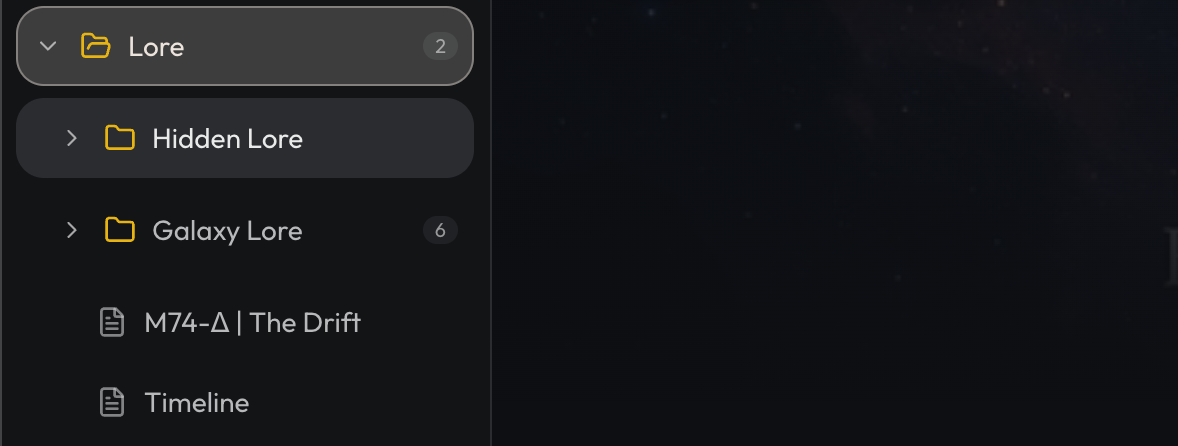
Right-click an existing folder to Rename or Delete it.
Reorganize with drag and drop
-
Drag any file or folder to move it.
-
Drop on a folder to nest it inside, or drop between folders to reorder.
-
The sidebar drag behavior on desktop is smooth (you can move multiple things in a row without the tree fighting you).
Search inside a folder on mobile
-
On mobile, folders include a built-in search to filter just the files in that folder.
-
This makes long folders manageable on a small screen.
Opening files and managing tabs
Files open into tabs across the top of the main canvas. Tabs persist as you work, so you can hop between several files without losing context.
Open a file
-
Click any file in the tree.
-
The file opens in a new tab and becomes the active one.
Switch and close tabs
-
Click any tab to switch to it.
-
Click the X on a tab to close it.
-
The first two tabs are always Overview (project home) and Root map (your world map). They can't be closed.
Pop a file out into its own window
-
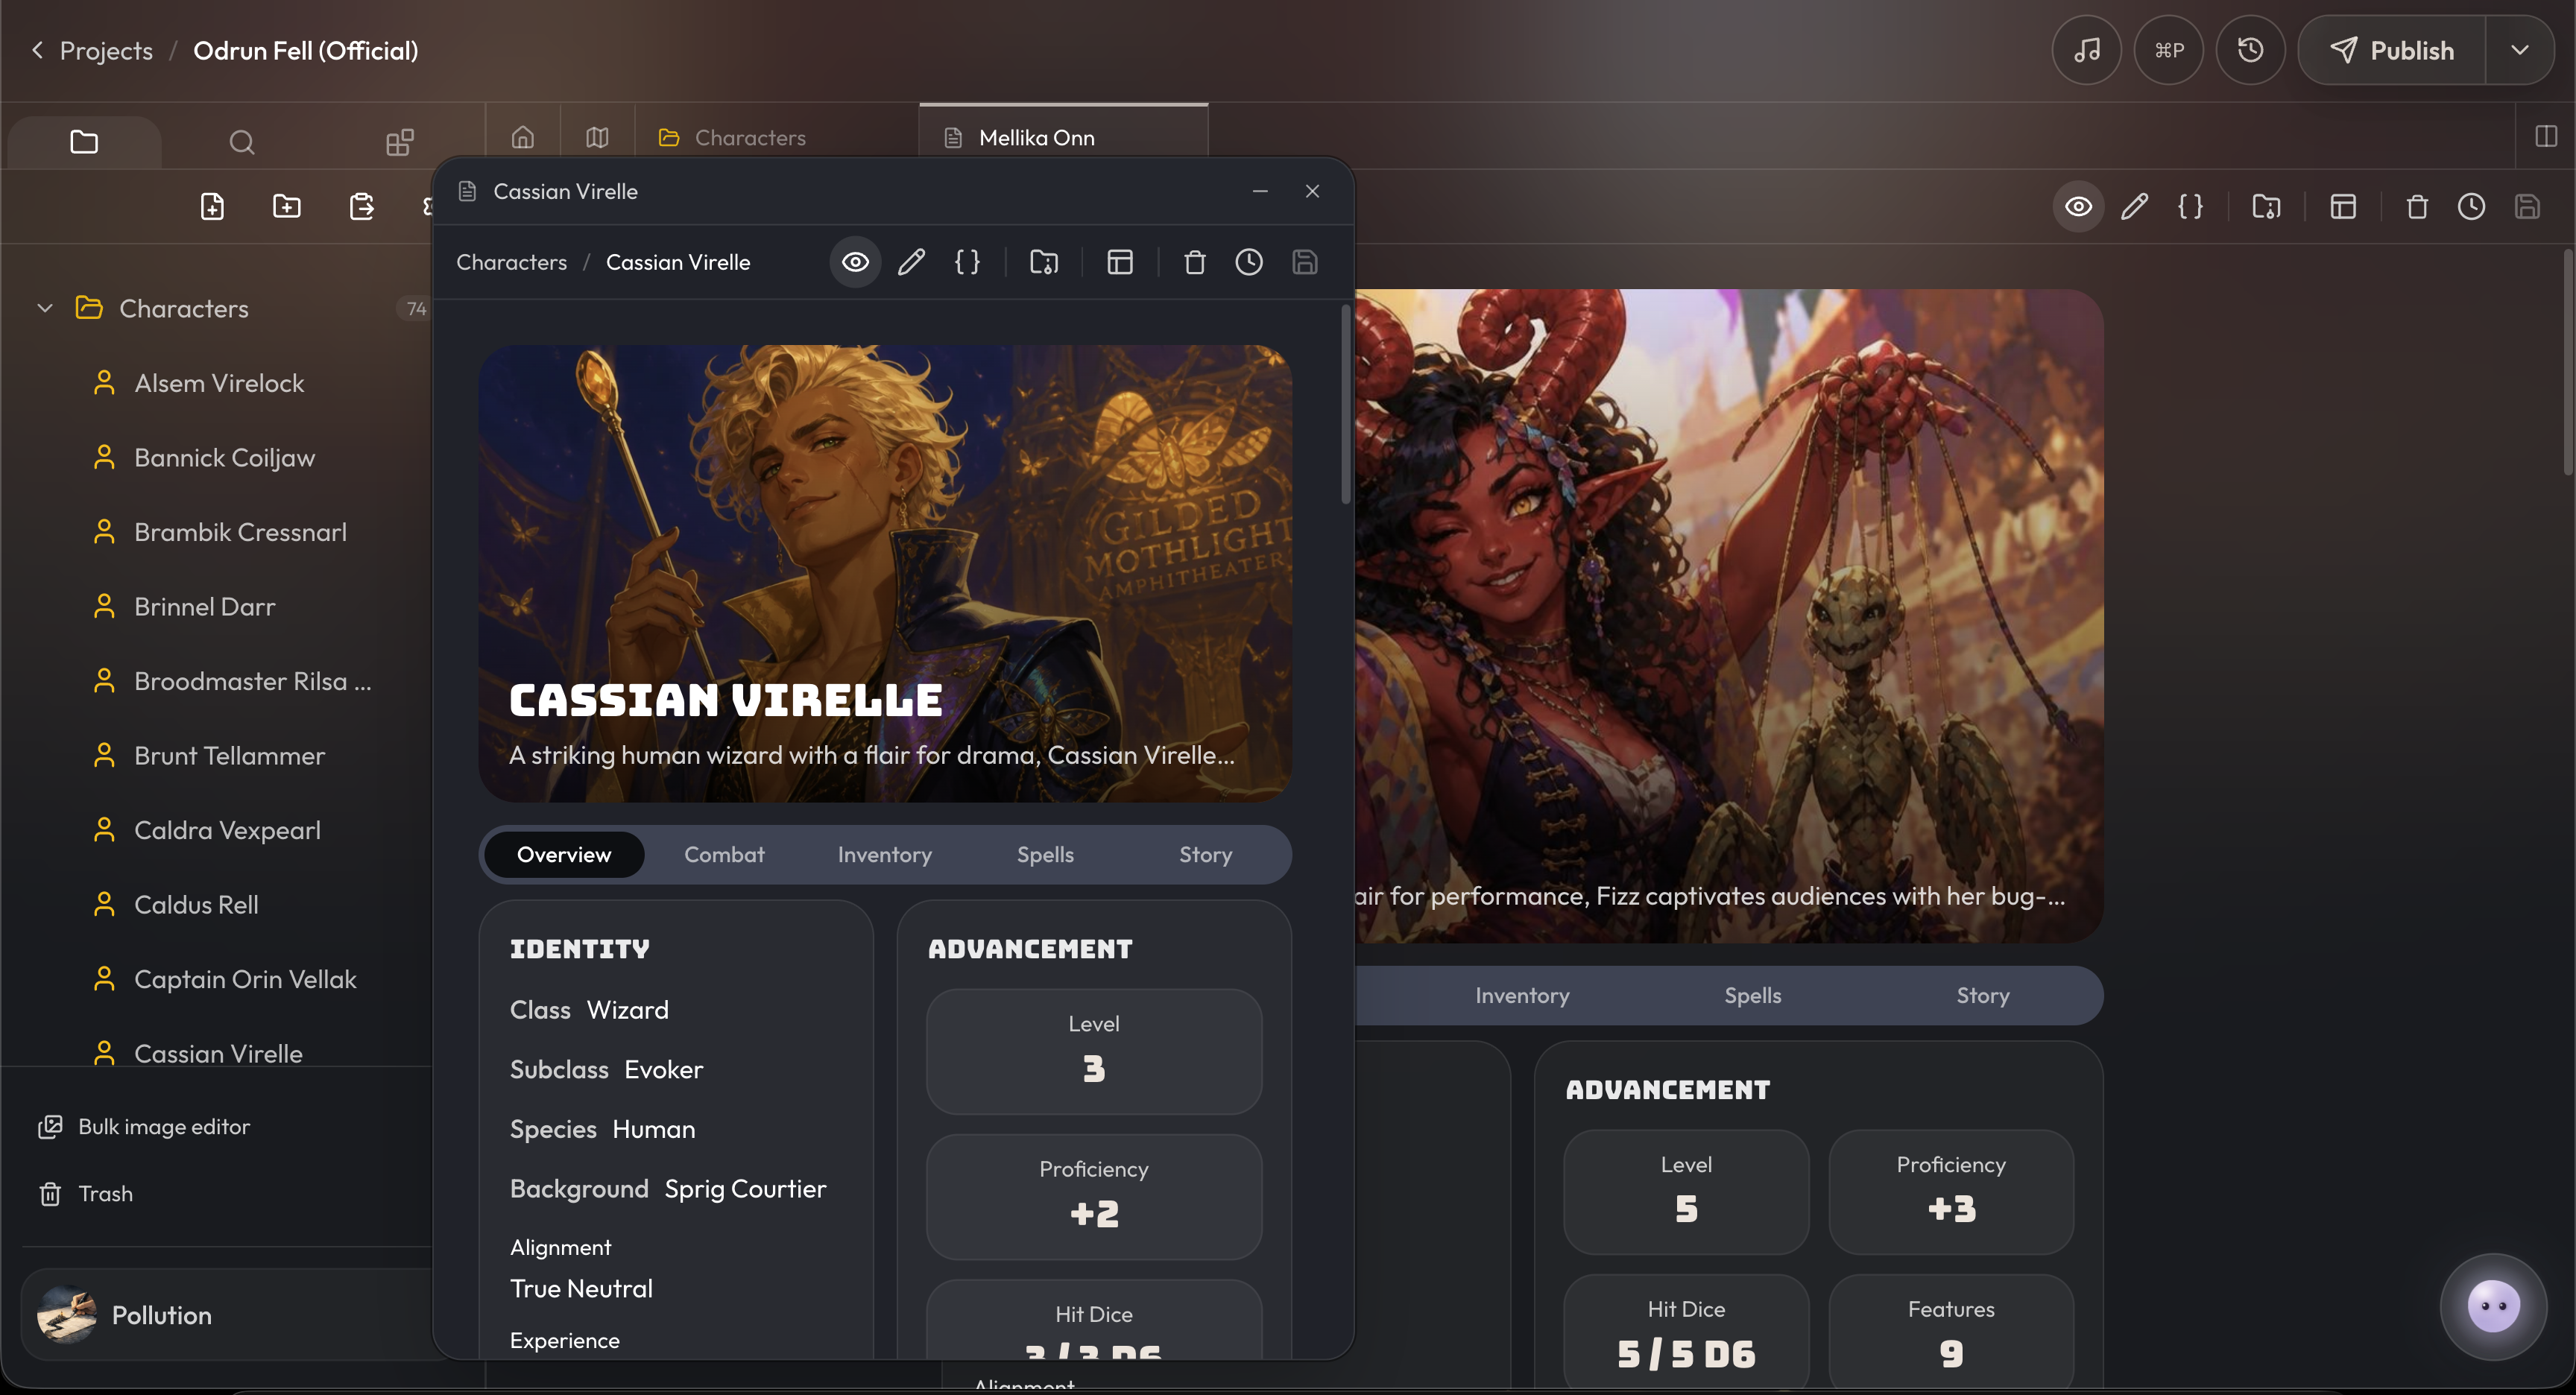
On any open tab, click Pop out into floating window.
-
The file opens in a separate window you can move around your desktop.
-
Useful when you want to keep one file visible while you edit a different one in the main canvas.
Search mode for finding anything
When you don't know where a file lives but you know something about it, search is faster than browsing.
Run a search
-
Click the search icon in the narrow sidebar.
-
Type into the input. Results appear immediately as you type.
-
Click any result to open the file in a tab.
Tips for getting better results
-
Search matches on file names and on content.
-
If you remember an NPC's quote but not their name, search for the quote.
-
If you remember the file type but not the file, browse the relevant folder in Files mode instead.
The command palette
The fastest way to move around once you know a file's name — no clicking through the tree at all.
Open it
-
Press ⌘K or ⌘P (Ctrl+K or Ctrl+P on Windows) anywhere in the workspace.
-
Start typing a file name. Your open tabs surface first, then matching files from the whole project. Press Enter to jump to one.
Beyond jumping to files
-
Navigation — open File Types,Project Settings, or the Bulk Image Editor without hunting for their buttons.
-
Actions — create a new file, folder, or file type, or publish your changes, straight from the keyboard.
-
Active file — when a file tab is focused, the palette also offers Rename, Move to Trash, and Close Tab for it.
Other workspace shortcuts
-
⌘B — show or hide the file sidebar.
-
⌘J — show or hide the assistant panel.
-
⌘W — close the active tab.
-
⌘\ — split the editor to the right.
On Windows, use Ctrl in place of ⌘ for all of these.
Split-pane view
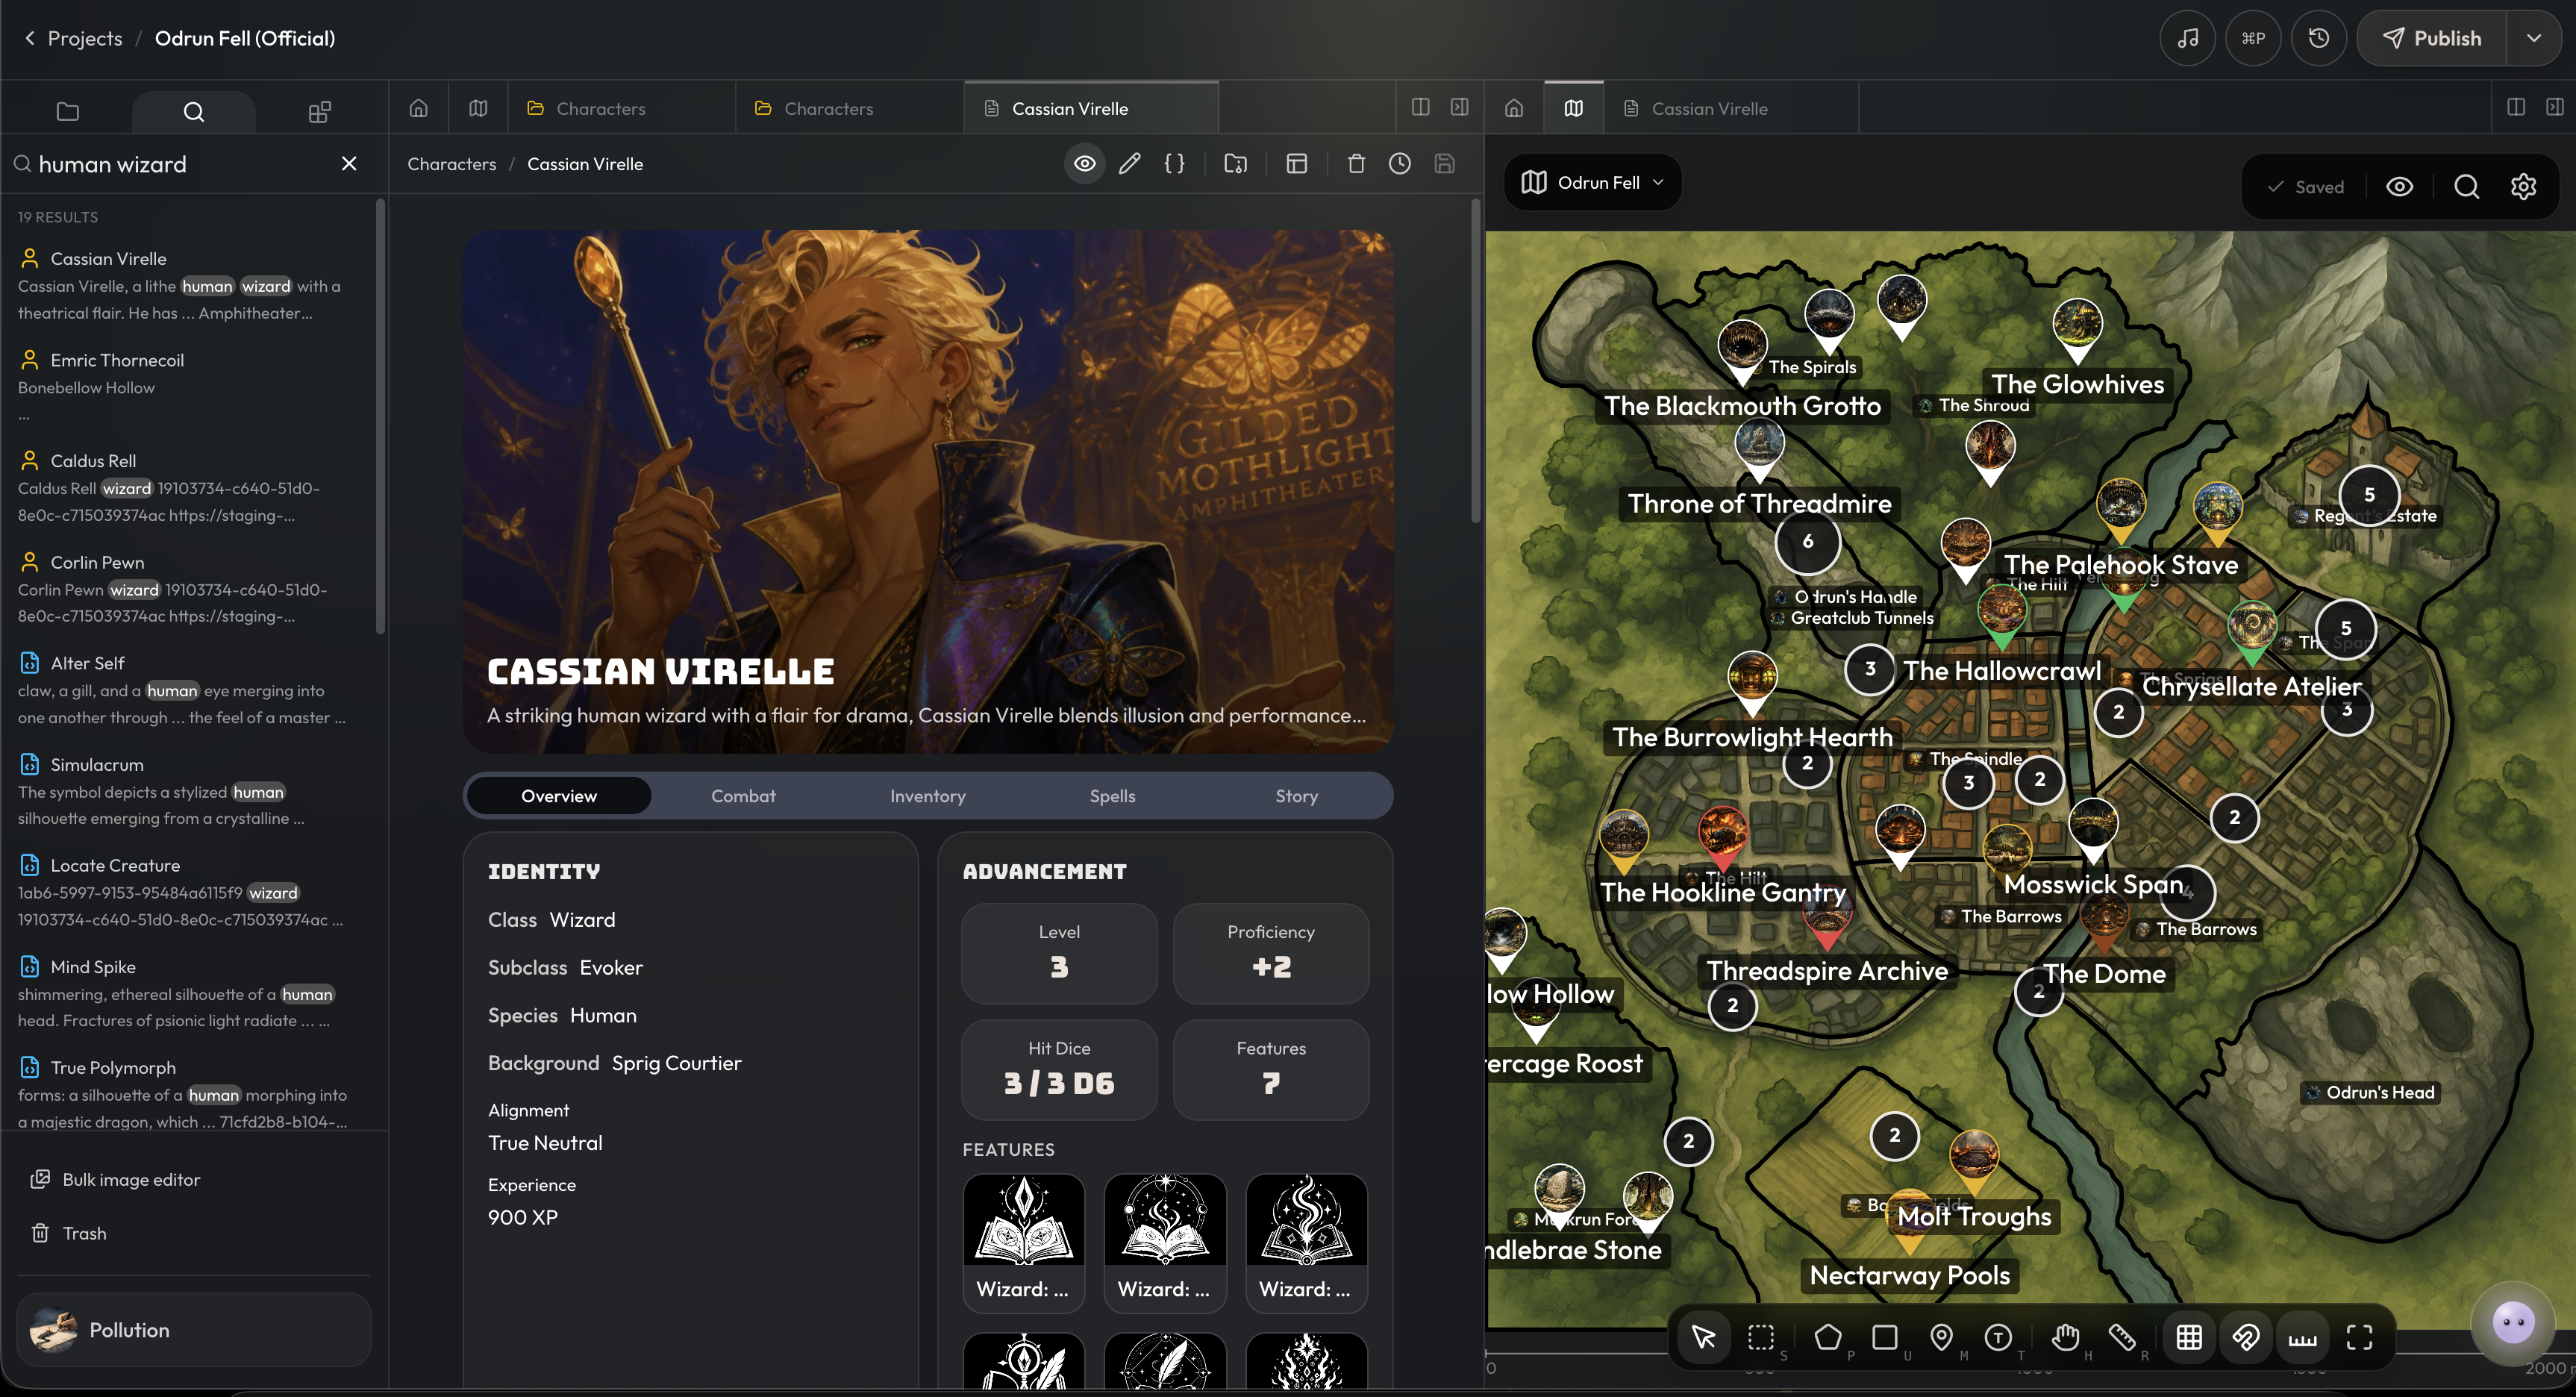
Sometimes one file isn't enough. Split-pane gives you two side-by-side workspaces in the same project.
Open a split pane
-
Click Split editor right at the top right of the editor panel.
-
The canvas splits into two panels.
-
Each panel has its own tab bar and can show a different file.
When to use it
-
Editing a character while looking at the location they're in.
-
Building a file type while reviewing an existing file that uses it.
-
Comparing two NPCs, two spells, or two encounter trackers.
Right-click context menus
Right-clicking is the shortcut for nearly every action that isn't a button.
Right-click a folder
-
New File: create a file directly in this folder.
-
New Folder: create a nested folder.
-
Rename: rename without opening properties.
-
Delete: remove the folder (confirms before it commits).
Right-click a file
-
Rename: quick rename in place.
-
Delete: remove the file (confirms before it commits).
Delete actions always require confirmation, so an accidental right-click won't lose your work.
Recovering from mistakes
A few safety nets worth knowing about.
Version history per file
-
Inside any open file, click the history icon in the top right.
-
Browse past versions of just that file.
-
Restore an older version if a recent edit went sideways.
Project-level history
-
Open the chevron next to Create Version in the top bar and pick Version History.
-
This lists the project versions you've saved, with options to view or restore one. See Version History and Retention for how long versions stick around.
Restoring a deleted file from Trash
-
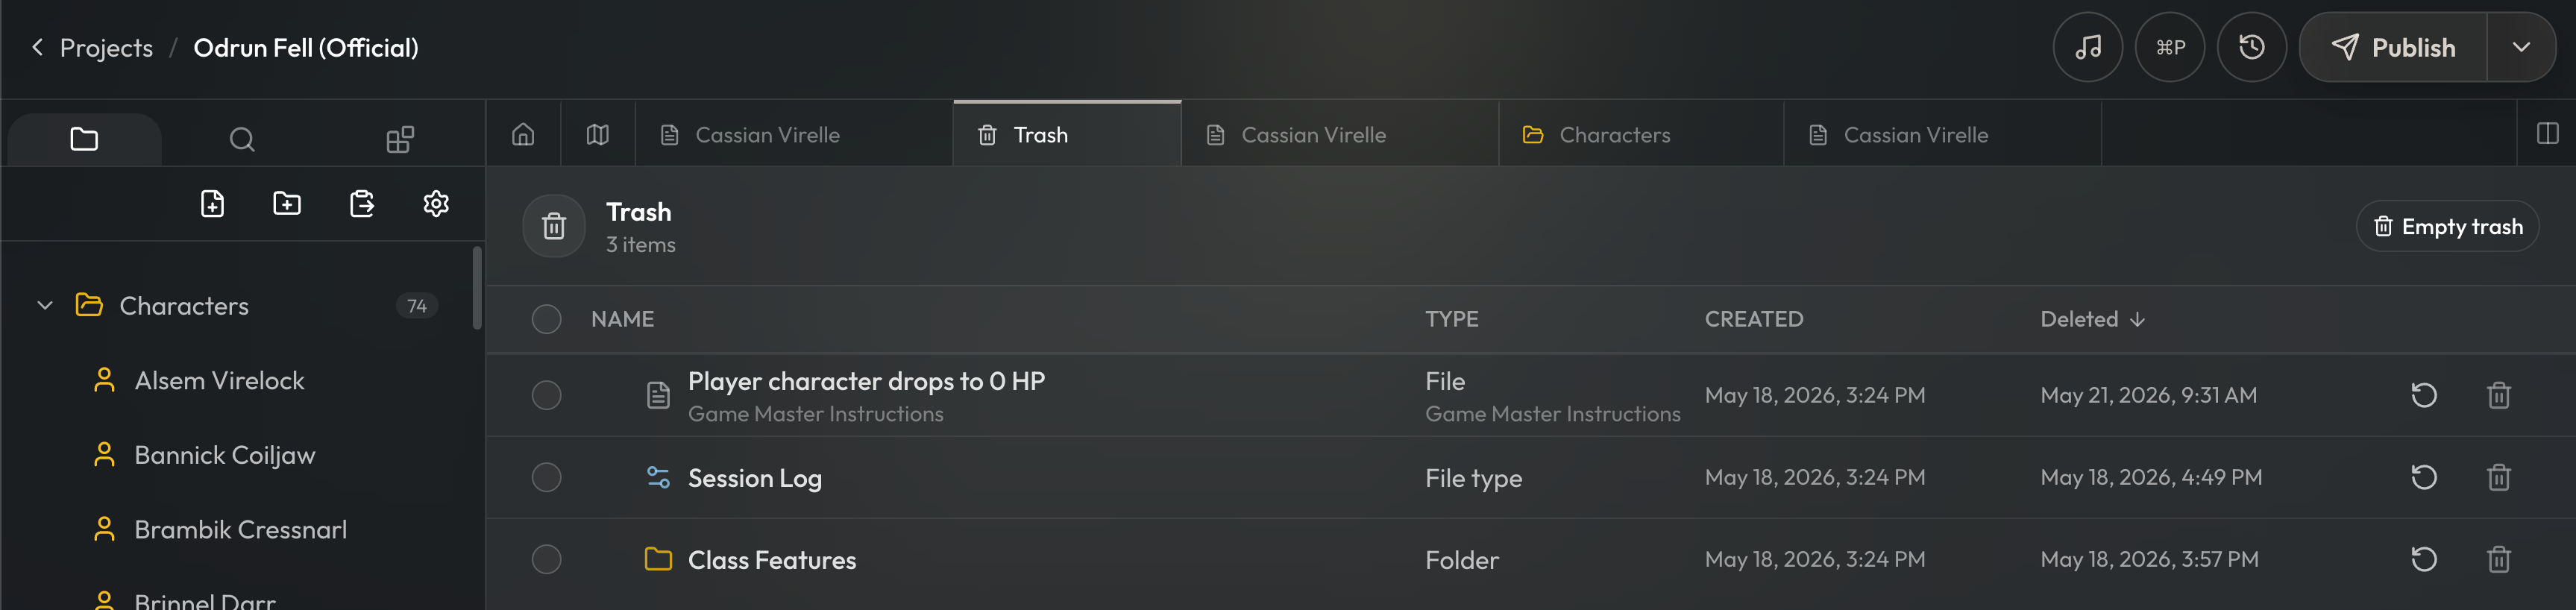
At the bottom of the file tree, click Trash.
-
Browse files you've deleted from this project.
-
Restore the one you want back into the file tree.
-
Deletes are confirmed when you make them, and they sit in Trash so they're recoverable until you empty it.
Copying files between projects
Sometimes a character or location belongs in more than one project.
Copy and paste
-
Open the source project and right click on the file.
-
Select copy.
-
Open the destination project, click into the folder where you want the file, right click and select paste.
-
The file appears in the new project with all its fields intact.
This is the fastest way to share a single file without bundling it into a package or re-importing a whole project.