
Playing a Published Project
The fastest path into a session
If you’d rather play in someone else’s world than build your own, Discover is where you start. Every published project on Discover can be launched as a live game with a single click. You don’t need to install anything, fork anything, or set up files (pick a project, choose a character, and the GM takes it from there).
Browsing Discover
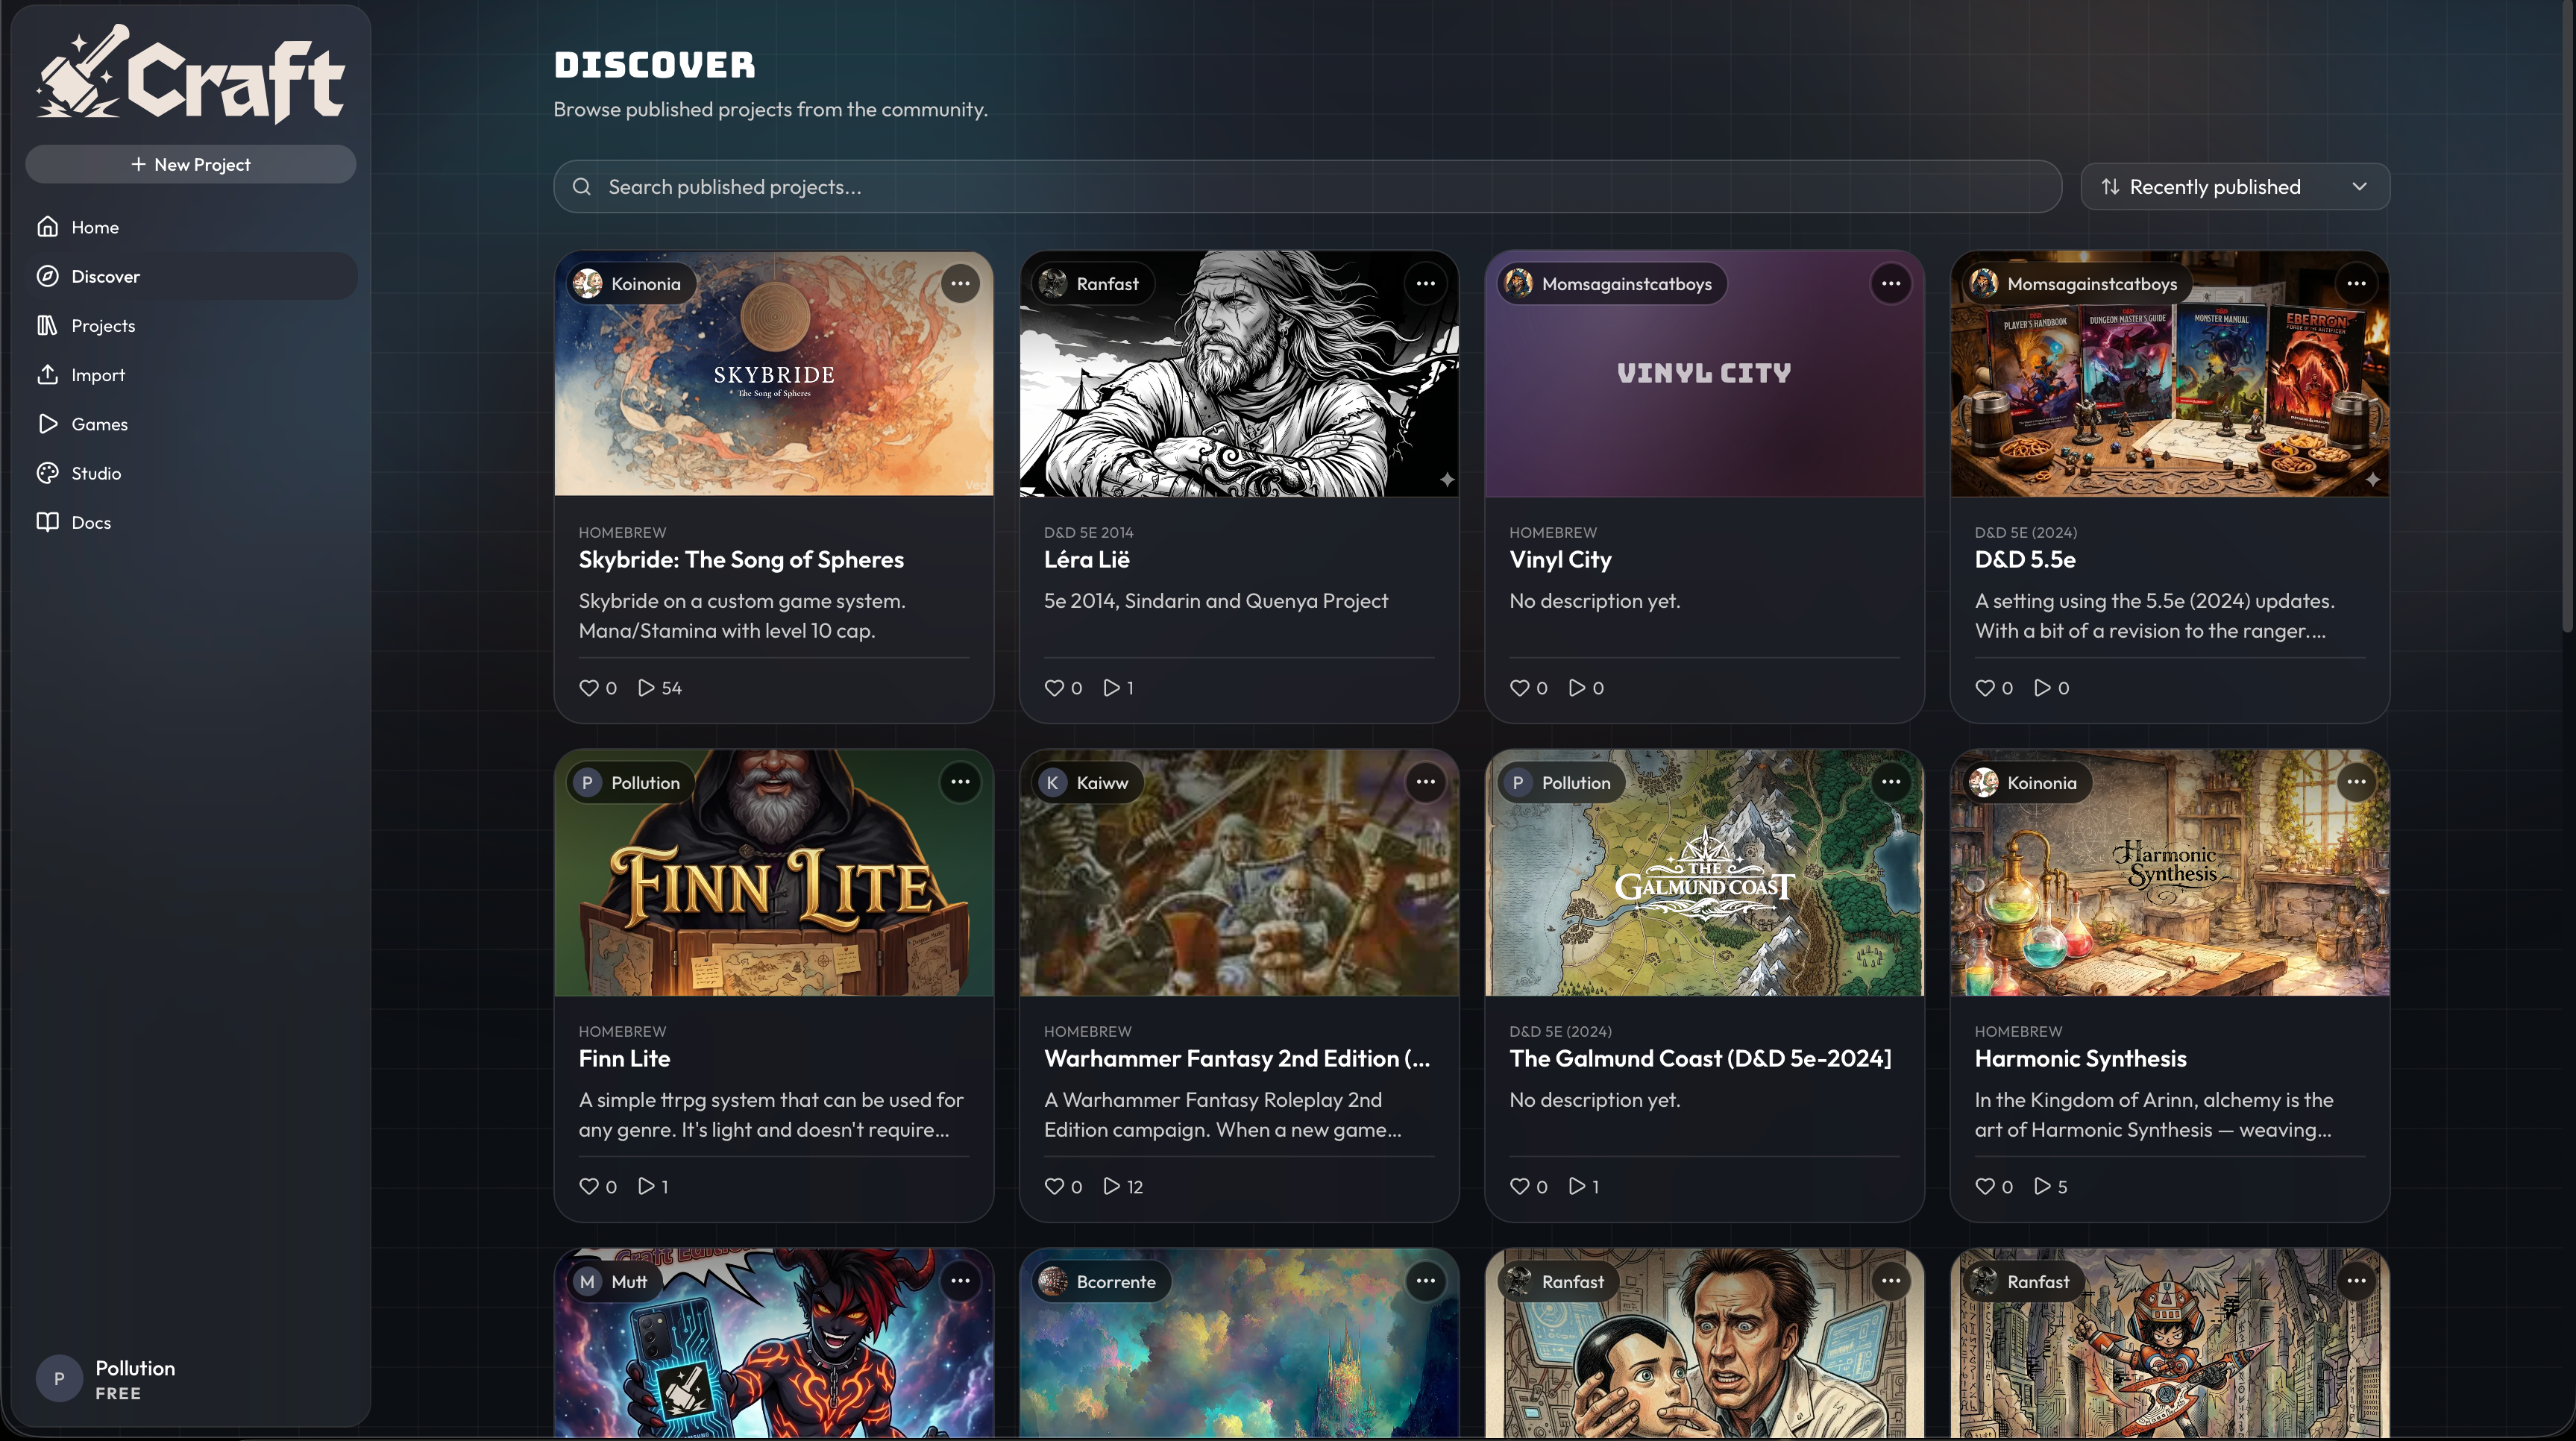
Open Discover in the left sidebar. The page shows a grid of project cards published by the community.
-
Search – The bar at the top searches across project titles and descriptions. Useful when you know the name of a project or you want to find every Pathfinder game.
-
Recently published – The sort dropdown next to search. Switch between recently published, most played, most liked, and so on to find what people are actually running.
-
Each project card shows the author, a system tag (D&D 5E 2014, Homebrew, D&D 5E 2024, and so on), the title, a short description, plus heart and play counts. Click anywhere on the card to open the project’s page.
Reading a project page
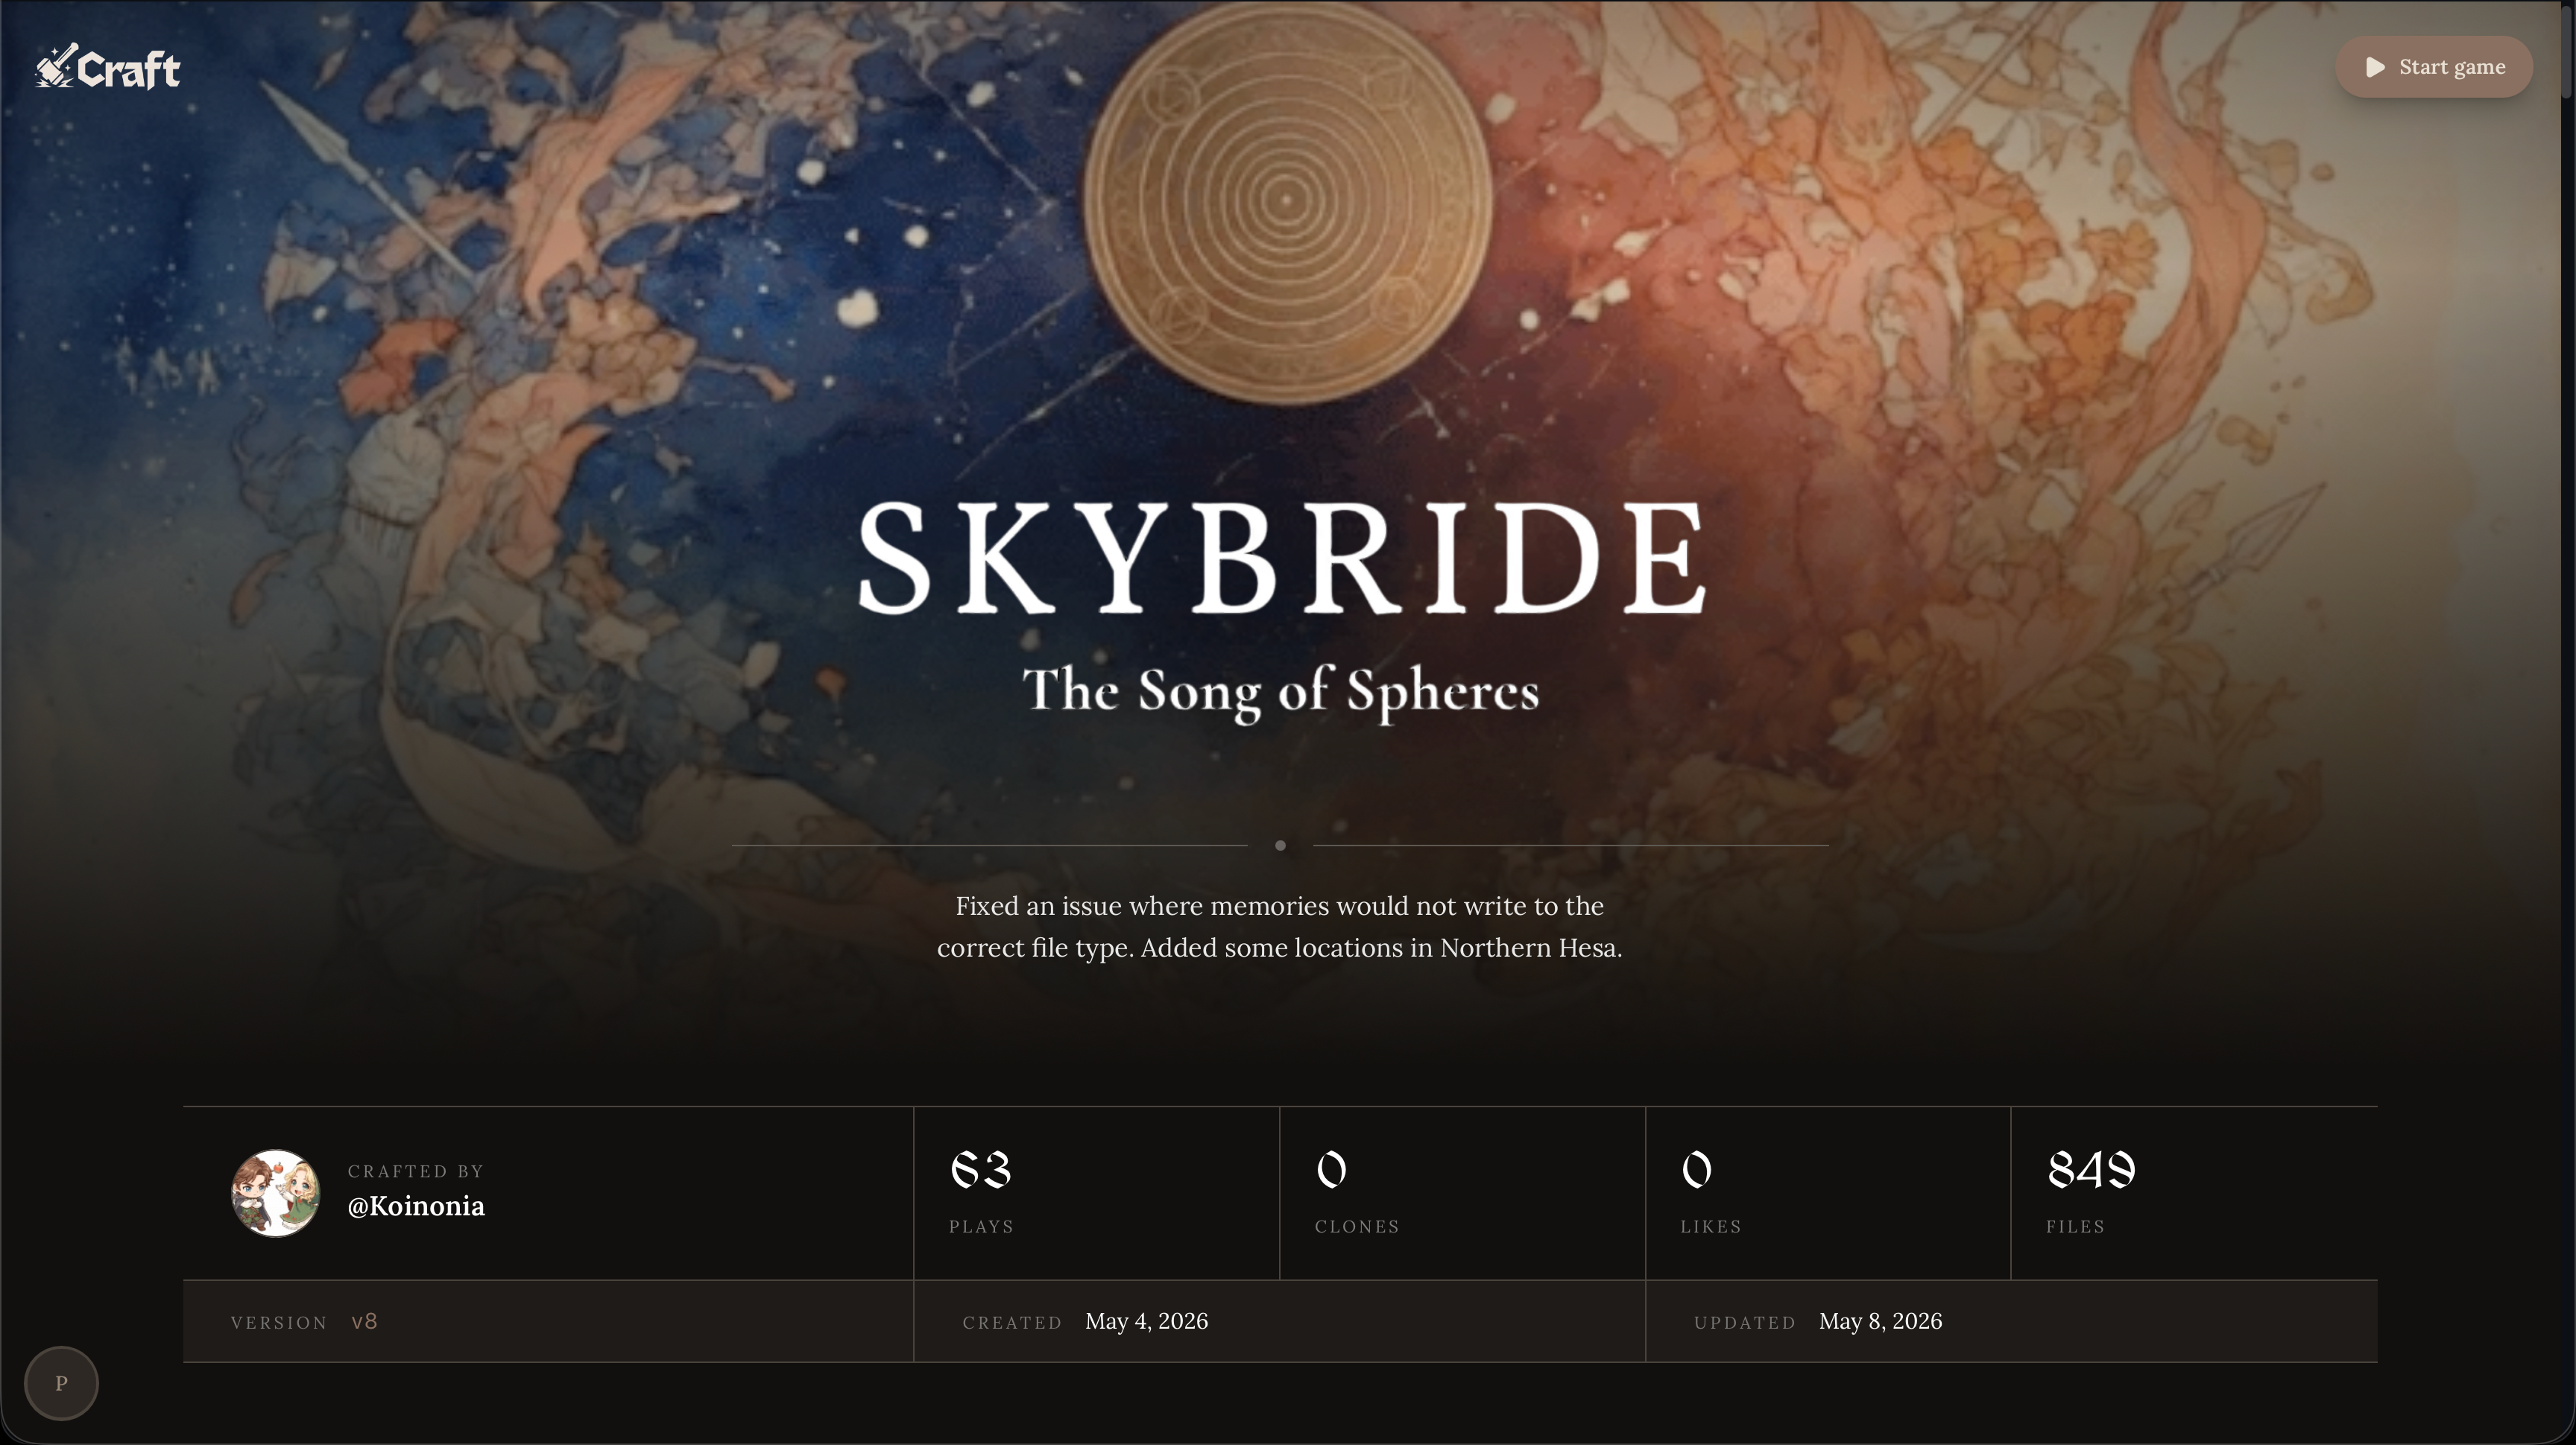
Each published project has its own page that shows what the world is about, who made it, and what state it’s in. The header carries the cover art and project title.
The stats row tells you the rest: who crafted it, how many people have played it, how many likes it has, how many files it contains, and which version you’re looking at. Scroll down for the project’s premise and any media gallery the author included.
To launch a session, click Start game in the top right.
Starting your first game
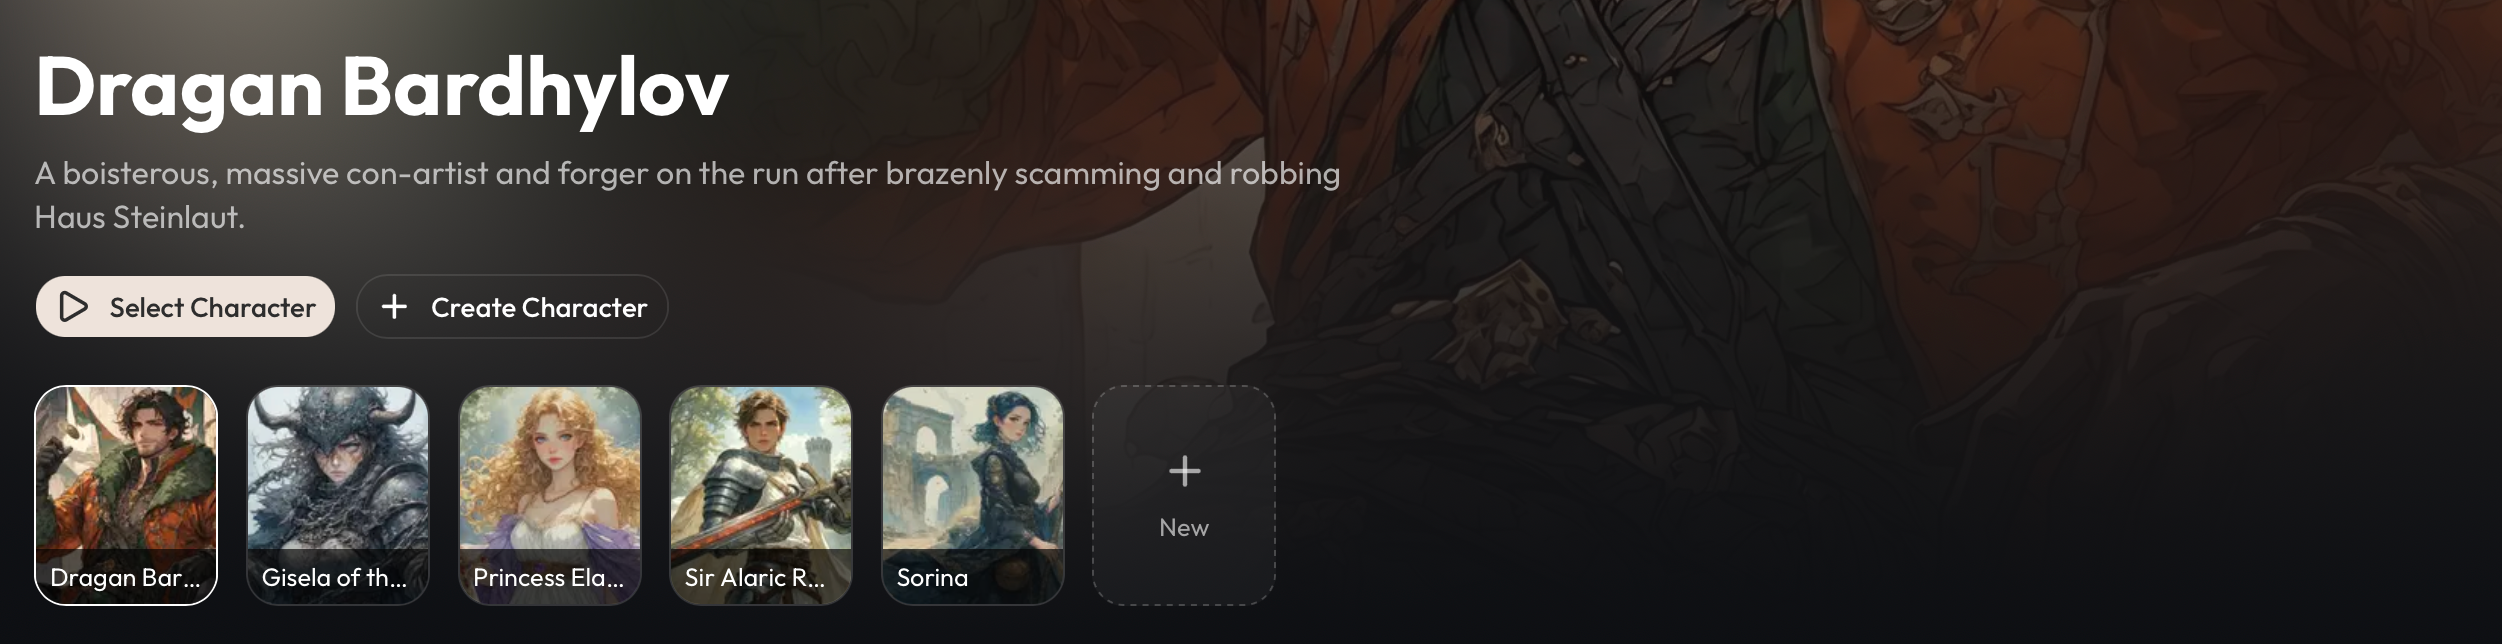
After you click Start game, Craft spins up a fresh session and drops you on the Choose your character screen. The full-bleed art on this screen is the currently highlighted character — their name and a short description sit underneath.
-
The strip at the bottom shows every character bundled with the project. Click any portrait to preview them in the main view.
-
Click Select Character to play as the highlighted character.
-
Click + Create Character (or the + New tile at the end of the strip) if you’d rather make your own. Craft will walk you through whatever character creation steps the project uses.
-
Use the back arrow at the top left if you change your mind about the project.
Playing your first turn
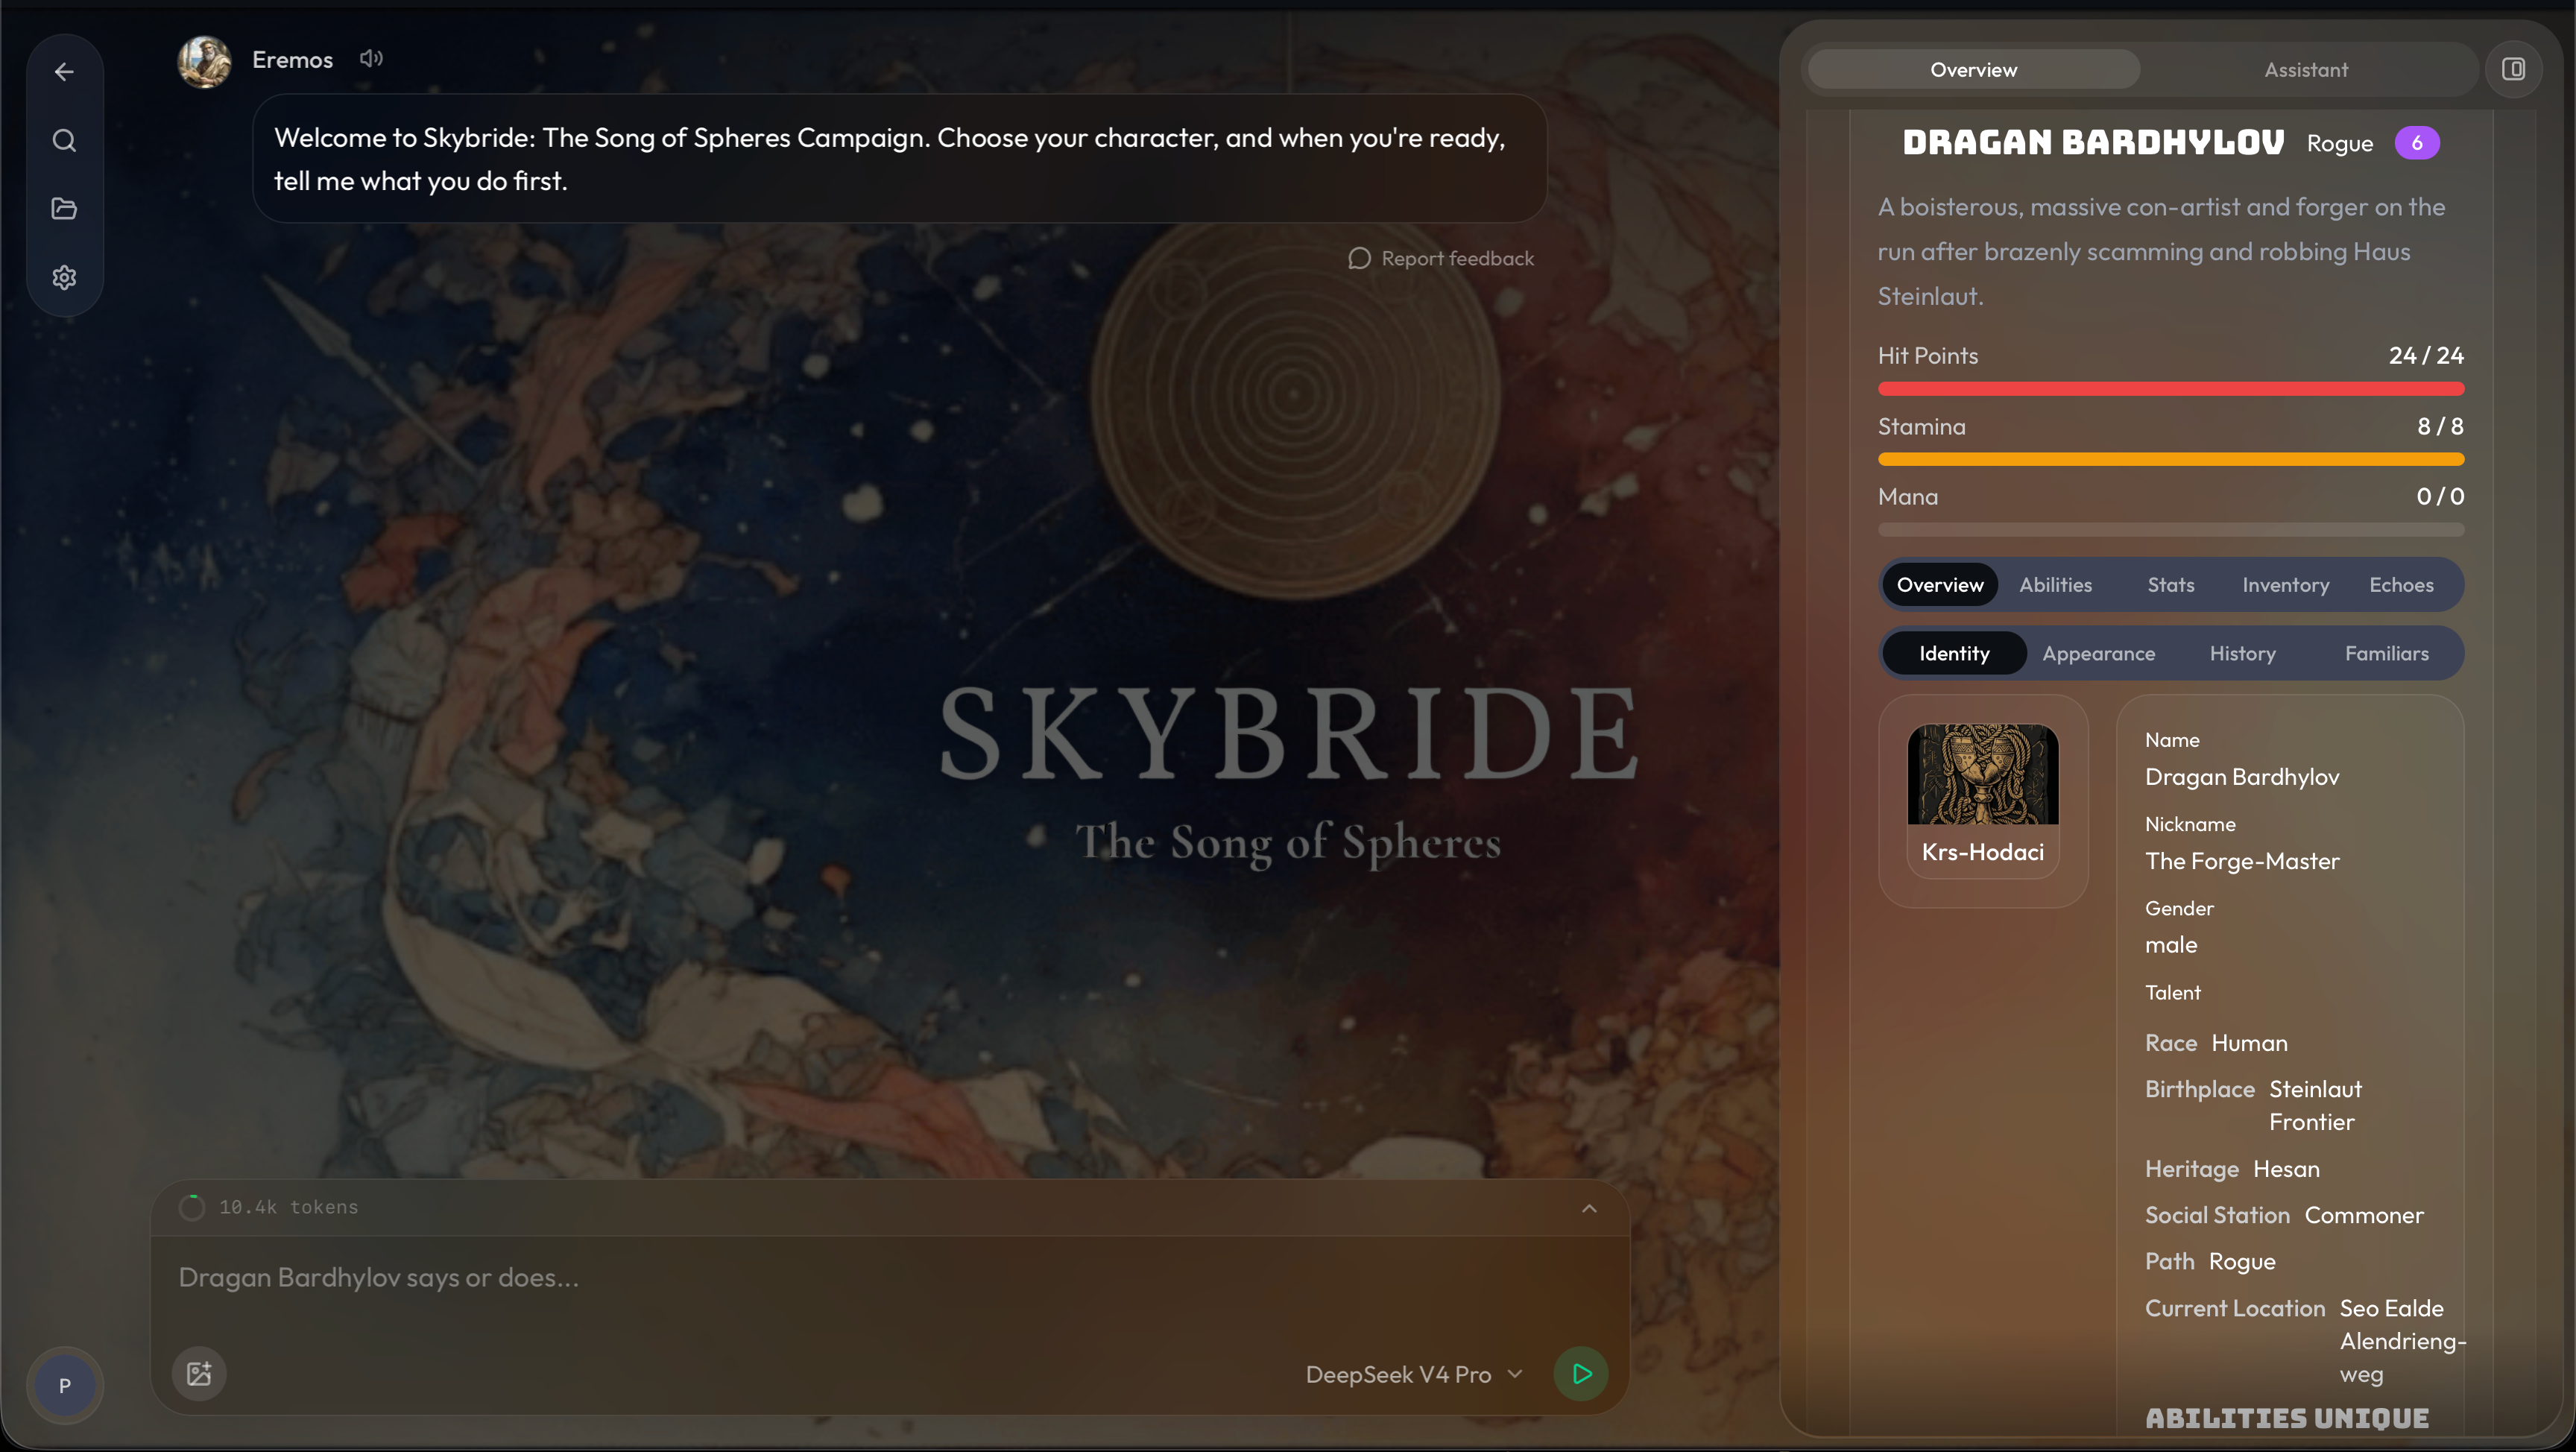
Once you select a character, the game loads and the GM greets you. The screen splits into two halves: the chat is on the left, your character and scene panel are on the right.
On the left
-
The GM message sits at the top (usually a welcome and a question to get you started). The GM has a name and voice configured by the project’s author, so it won’t always be Franz (the default GM inherited from Friends & Fables).
-
The chat input at the bottom is where you say or do things. Type as your character would speak or act
-
"I draw my dagger and step into the doorway," not stage directions about what should happen. The GM will narrate the result.
-
-
The model picker next to the send button lets you swap which model is running your GM. Stronger models follow long instruction sets more reliably and cheaper models are faster and let you play longer on the same energy budget.
-
The token chip above the input shows how much context the GM has loaded. It’ll grow as your campaign gets longer.
On the right
-
The Overview tab shows the current scene image, any music attached to the location, and the character you’re playing as (full sheet, stats, and equipment).
-
The Assistant tab opens Orbit, the out-of-character assistant. Use Orbit when you want to ask a rules question, look something up, or pause to plan (without the GM treating it as in-character speech).
-
The character tabs (Overview, Abilities, Stats, Inventory, and so on) follow the project’s schema, so what shows up here will look different in a 5e setting versus a custom system.
Building a world of your own instead? The owner’s side of this flow is covered in Starting Your First Game.